
In this article, we will explore how to set up a Laravel development environment on a Windows 11 machine. This guide covers the installation of PHP, MySQL, Composer, and Laravel itself, providing a step-by-step walkthrough to ensure a smooth setup process.
Developing Laravel applications on Windows 11 requires configuring PHP, MySQL, Composer, and Laravel. Follow the steps outlined below to manually set up your development environment for Laravel.
I. Install PHP
Download PHP
The first thing that we need is to download and install PHP. To do that, follow the steps below.
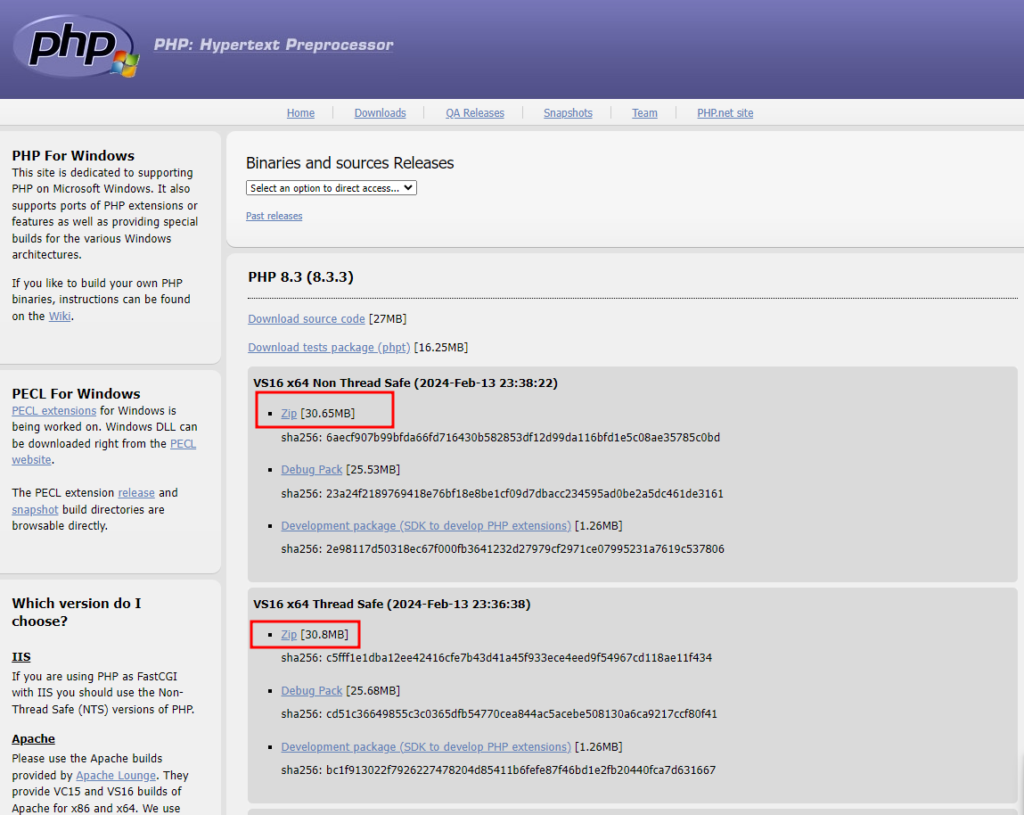
1. Visit the official PHP website (PHP Downloads).
2. Download the Windows zip file for your preferred PHP version (e.g., PHP 8.x).
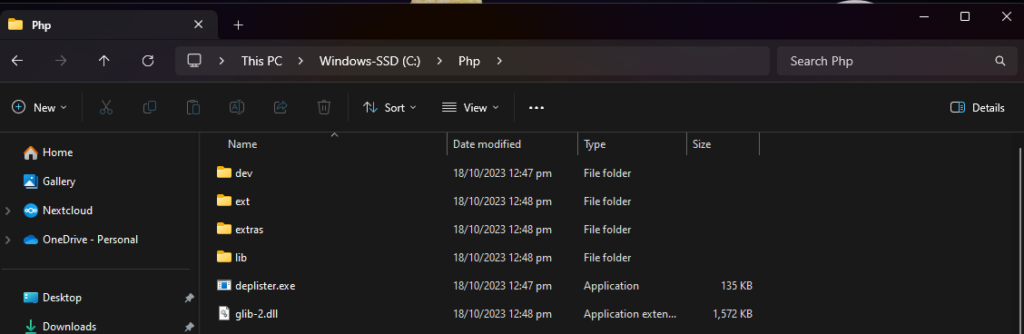
3. Extract the zip file to a directory on your computer (e.g., C:\php).
Configure PHP
We also need to configure PHP to enable the extensions we need. Follow the steps below to configure your local Php.
1. Locate the php.ini-development file within the PHP directory. Copy and rename it to php.ini.

2. Open php.ini in a text editor to make necessary configurations, adjusting settings like the extension directory and memory limits.
memory_limit = 128M3. Below are the extensions that you will need to enable on php.ini. To enable it, find and uncomment (remove the semicolon ; at the beginning of the line) the following line in your php.ini file:
MySQLi Extension:
The MySQLi extension is used for MySQL database connections.
extension=mysqli
PDO (PHP Data Objects) Extension:
This extension is a database access layer providing a uniform method of access to multiple databases.
extension=pdo
PDO MySQL Driver:
If you are using MySQL with PDO, enable the PDO MySQL driver by uncommenting the following line:
extension=pdo_mysql
OpenSSL Extension:
The OpenSSL extension is often used for secure communication over HTTPS.
extension=openssl
GD Extension (for image processing):
If you need to work with images, enable the GD extension
extension=gdAdd PHP to System Path:
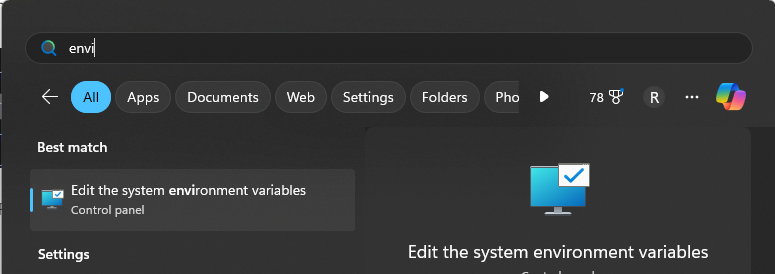
1. Add the PHP directory to the system PATH. To do that, search for System Environment Variables from the start menu.
2. Then select Environment Variable from the System Properties.

3. Edit path variable then add your PHP directory. Which in my case is in C:\Php
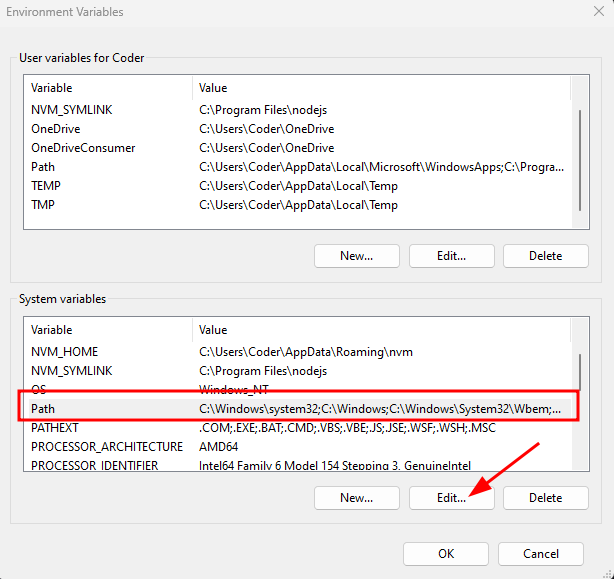
4. Lastly, click ok and apply the changes.
Test PHP
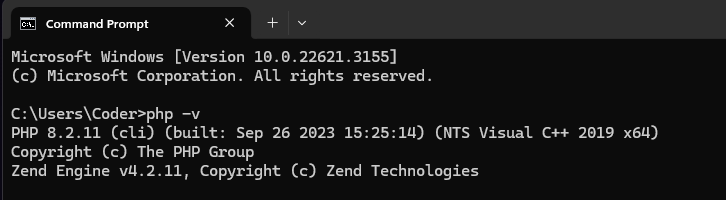
Now, verify PHP by running this command on your Command Prompt.
php -vIf you have installed it correctly, you will be able to see the version of the PHP you have on your machine.
If you are interested in leveling up your game, you can install Apache on Windows by following this tutorial.
II. Install MySQL
Next, we need a database. Follow the steps below to install MySQL.
1. Visit the official MySQL website (MySQL Downloads).
2. Download the MySQL Installer for Windows.
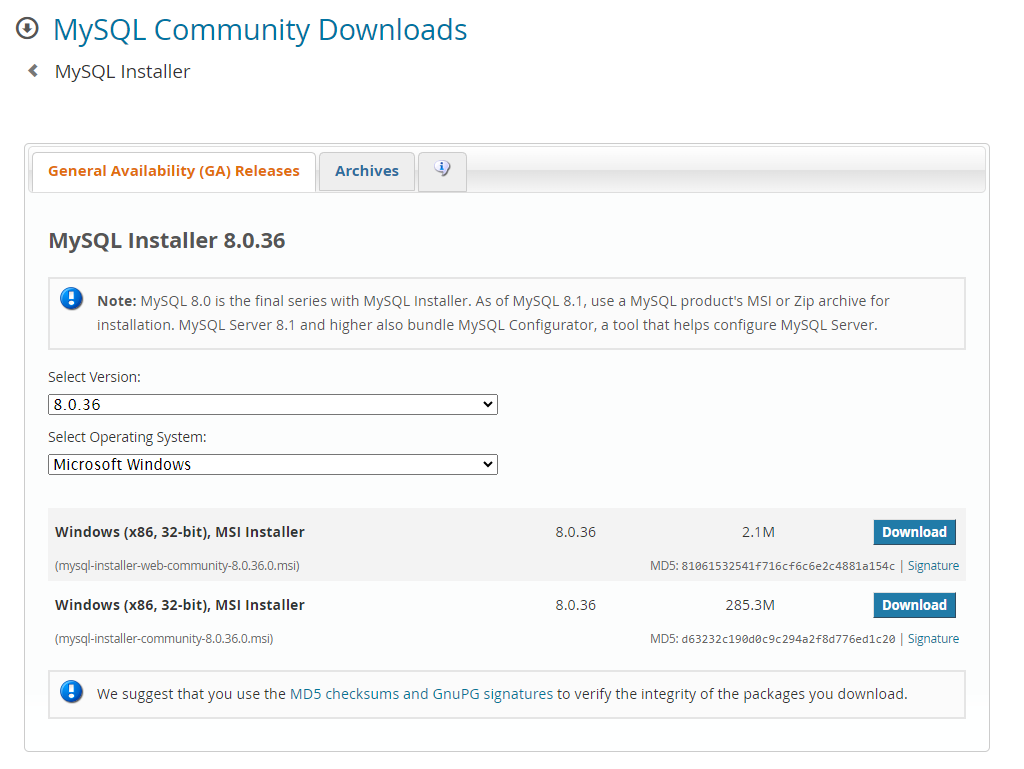
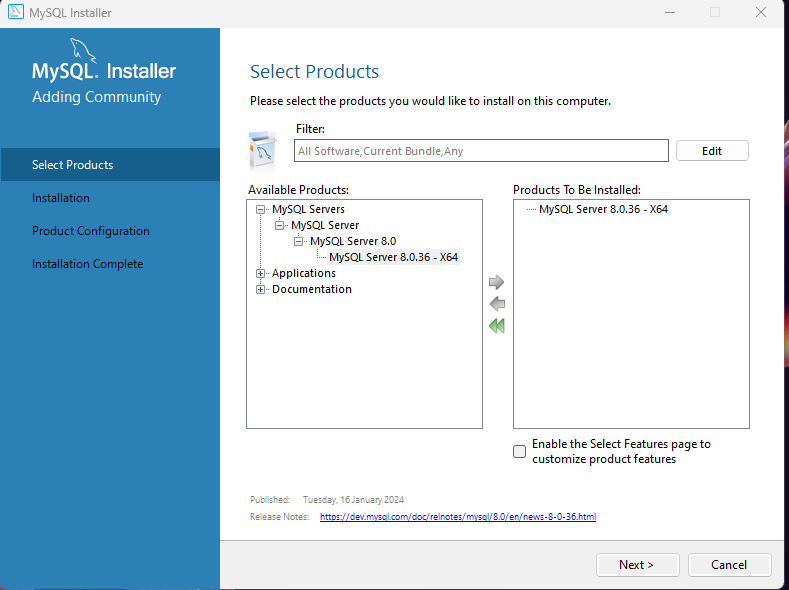
3. Run the installer and choose MySQL Server then click the Next button to proceed.
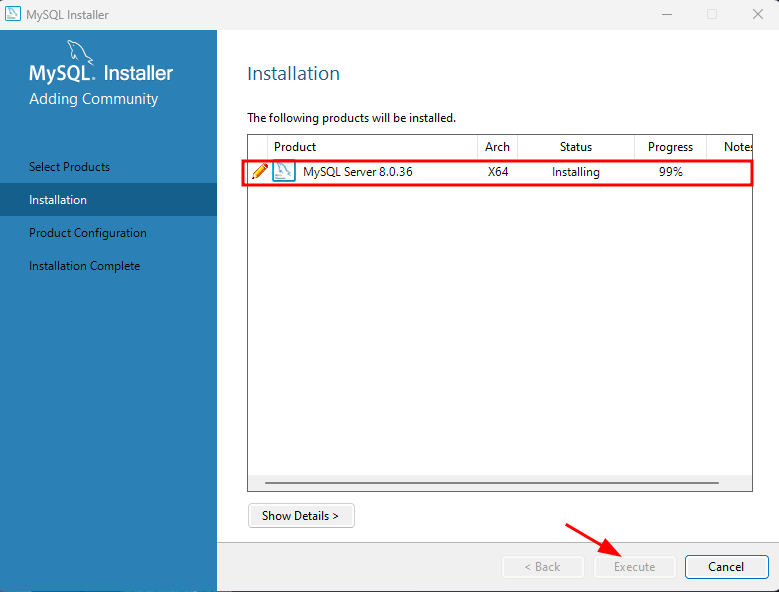
4. Execute to start the installation.
5. Set a password for the MySQL root user during the MySQL Server configuration. Proceed with the installation until the last instructions.
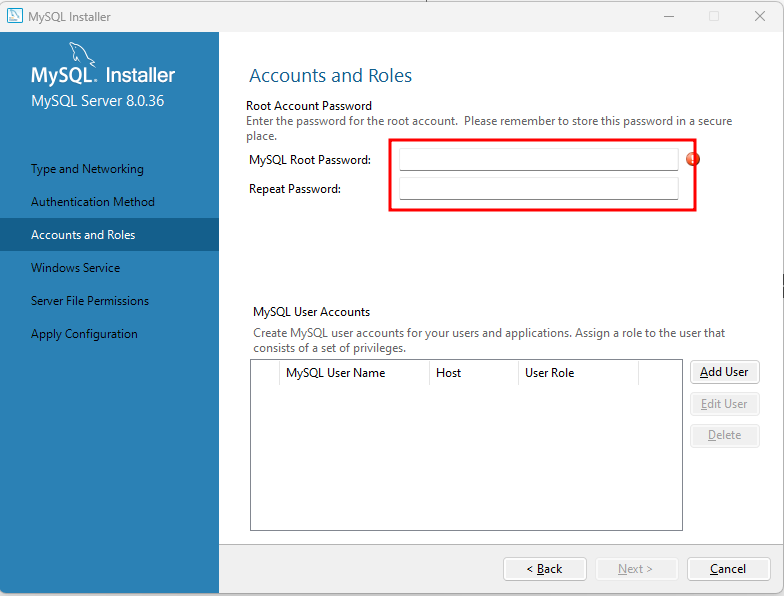
I have skipped processes to make this tutorial shorter but I’m sure the instructions on the installation are pretty clear. This is what it looks like after you finish the installation.

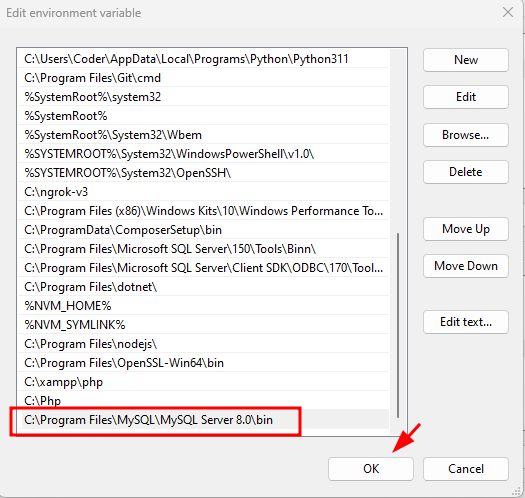
6. To access MySQL Server from a command prompt register MySQL path to the Environment Variables.
MySQL default path:
-
C:\Program Files\MySQL\MySQL Server 8.0\bin
You can also install MySQL Workbench to have a visual on communicating with MySQL Server databases(MySQL WorkBench).
III. Create a MySQL Database for Laravel
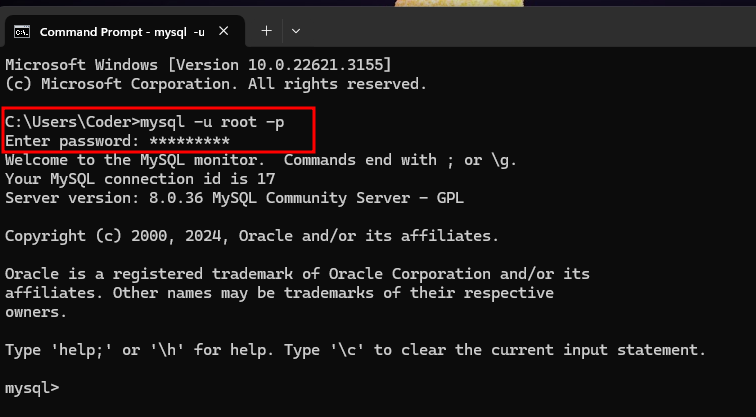
1. Open a command prompt and log in to MySQL:
mysql -u root -p
Input the root password you set from the MySQL configuration setup.
2. Create a new database (replace laravel_database):
CREATE DATABASE laravel_database;3. Create a MySQL user and grant privileges (replace root and your_password):
GRANT ALL PRIVILEGES ON laravel_database.* TO 'root'@'localhost' IDENTIFIED BY 'your_password';
If you are using MySQL Server 8.0 and above, you can use this command.
ALTER USER 'root'@'localhost' IDENTIFIED BY 'new_password';4. Flush privileges:
FLUSH PRIVILEGES;
5. Exit MySQL using the exit command.
exit;IV. Install Composer
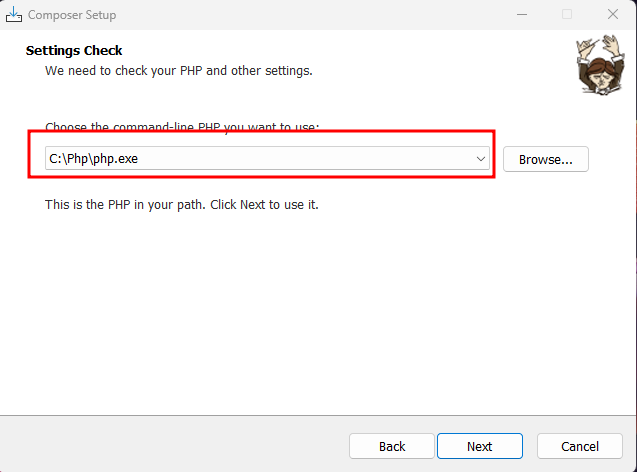
We will be using a composer to create a Laravel project. To install download Composer for Windows from here.

Install the Composer and select the Php.exe file to proceed with the installation.
Now, we are ready to create our first Laravel app.
V. Install Laravel
Now, let’s start to create a Laravel project. To do that, follow the simple steps below.
1. Navigate to your desired projects directory in the terminal
2. Create a new Laravel project using the command below.
composer create-project --prefer-dist laravel/laravel laravel_demo

3. The command above will create a folder named laravel_demo, this is where the project files are located. Navigate into the project directory by using the command below.
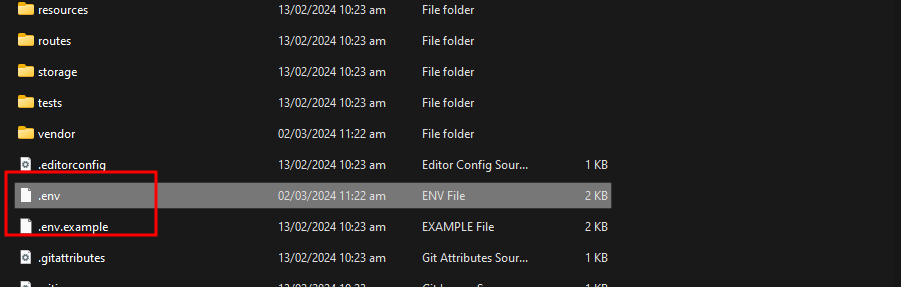
cd laravel_demo3. Open your project directory and copy the .env.example file to .env and update the database connection details within the .env file.
DB_CONNECTION=mysql
DB_HOST=127.0.0.1
DB_PORT=3306
DB_DATABASE=laravel_database
DB_USERNAME=root
DB_PASSWORD=123456789
VI. Migrate Database
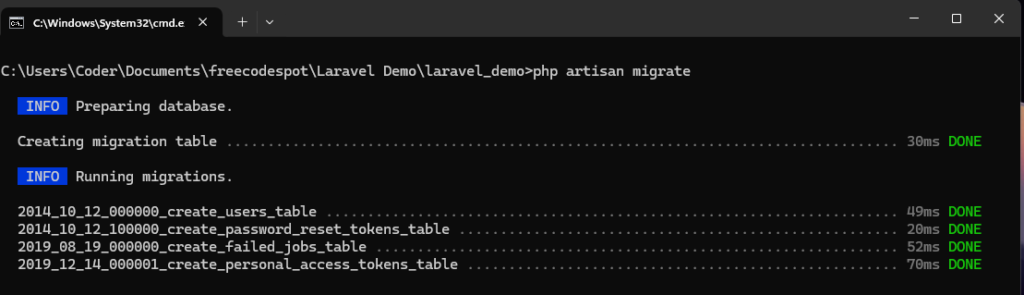
Run Laravel migrations with the command php artisan migrate to create the necessary tables in your MySQL database. This step is crucial for setting up the database schema required for your Laravel application.
Let’s verify the table by running the following command.
Login to MySQL:
mysql -u root -pSelect Database: replace laravel_database with your own local database.
use laravel_databaseView all tables inside laravel_database:
show tables;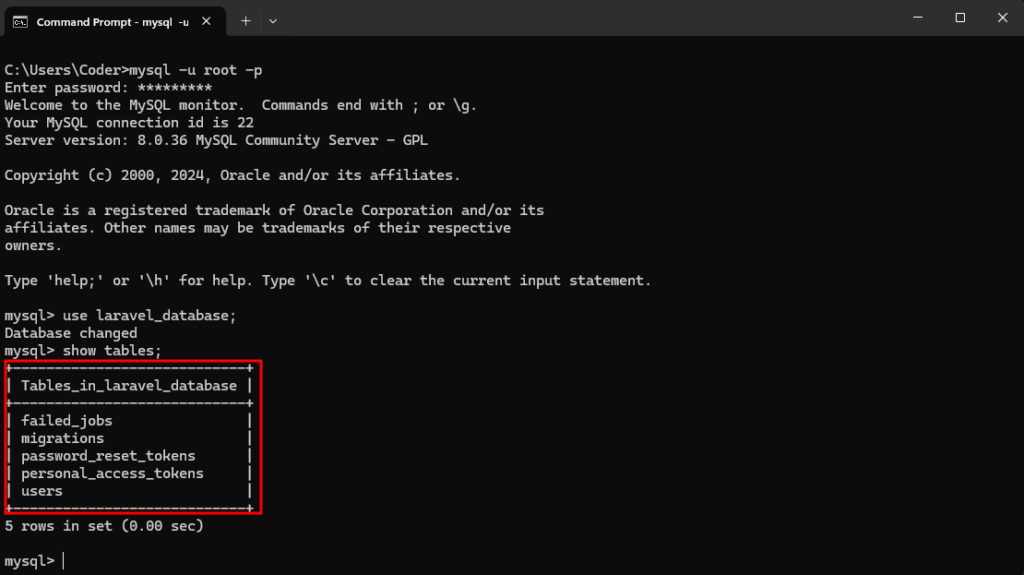
Then you can select data in each table by using the MySQL select command.
select * from migrations;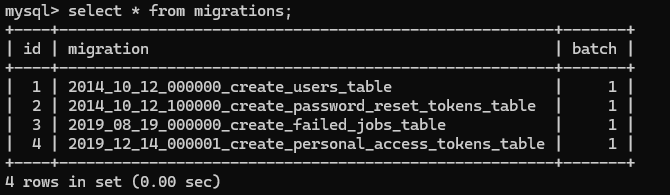
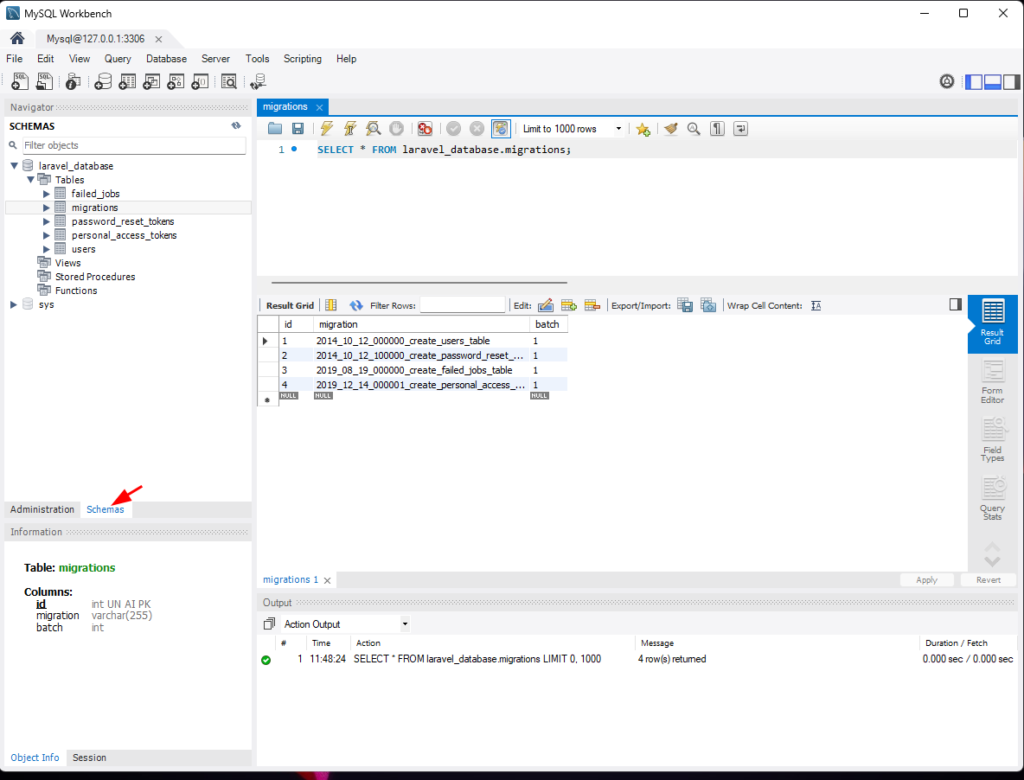
If you have MySQL workbench, this is easier to check. See the image below.
VII. Run Laravel Application
Now, run your application by using the following command:
php artisan serve
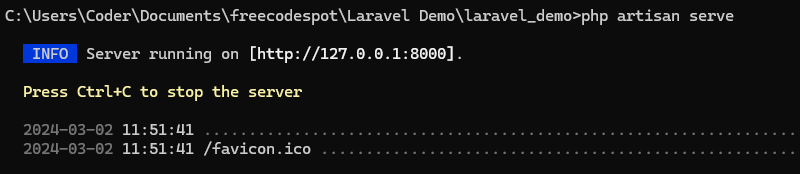
Then browse the URL http://127.0.0.1:8000 on your browser.
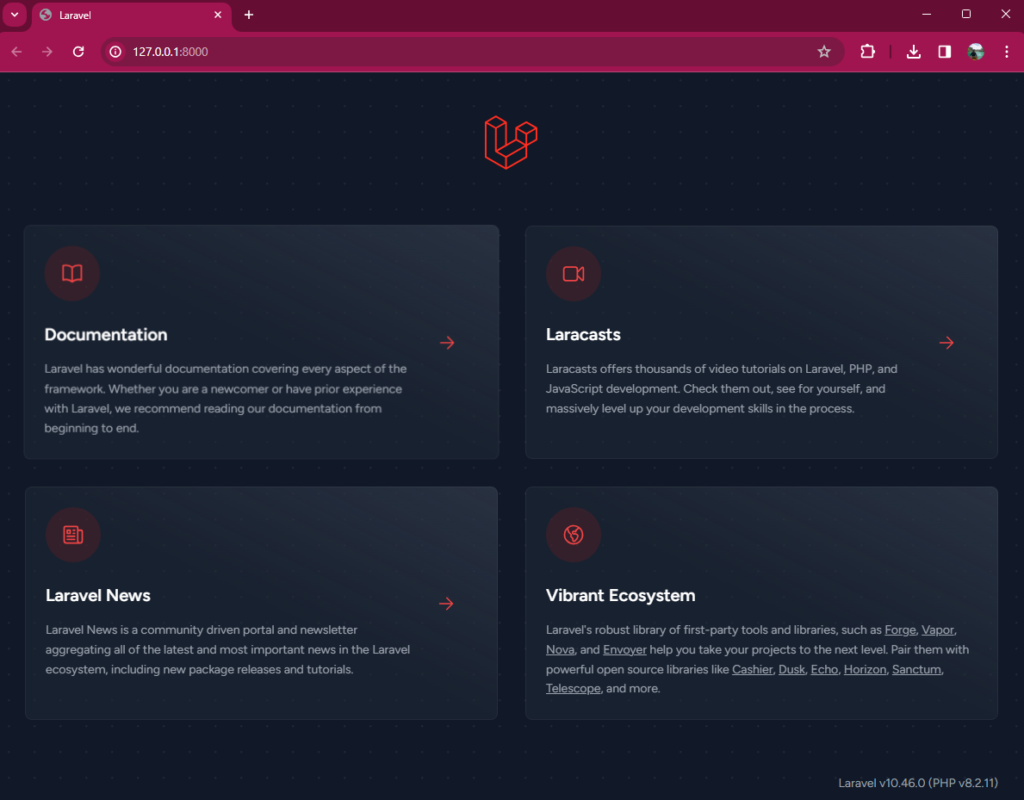
Congratulations! You’ve successfully set up a Laravel development environment on your Windows 11 machine.
Conclusion
This guide has covered the installation of PHP, MySQL, Composer, and Laravel, providing you with a solid foundation for building and testing your Laravel applications.