This article will show you how you can create Web Services in ASP NET. Web service is a software used to exchange XML-based information that uses the internet to interact with any other application called its client. This software provides a modular method that could be used by multiple applications through the web.
If you are interested on WEB API you may also visit this link.
Before we start, Please make sure to have this installed:
- The latest version of Visual Studio – You can download it here.
If you already have this installed from your machine. Let’s then proceed.
Let’s start:
Step 1. First start by opening your visual studio and create Web Services in ASP NET.
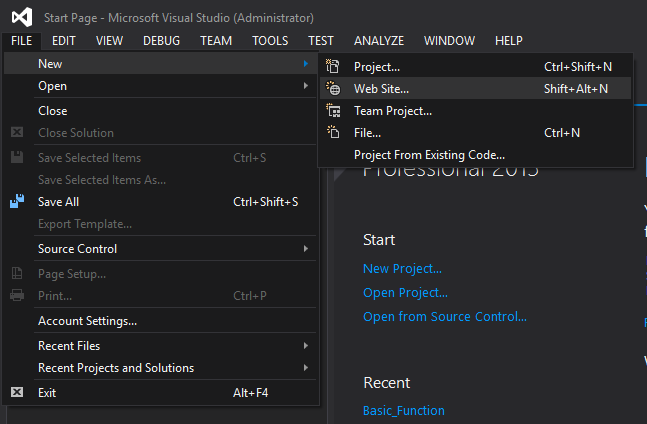
Step 2. From the new website window, choose .Net Framework 3.5 from the drop-down just above your middle pane. See the image below.
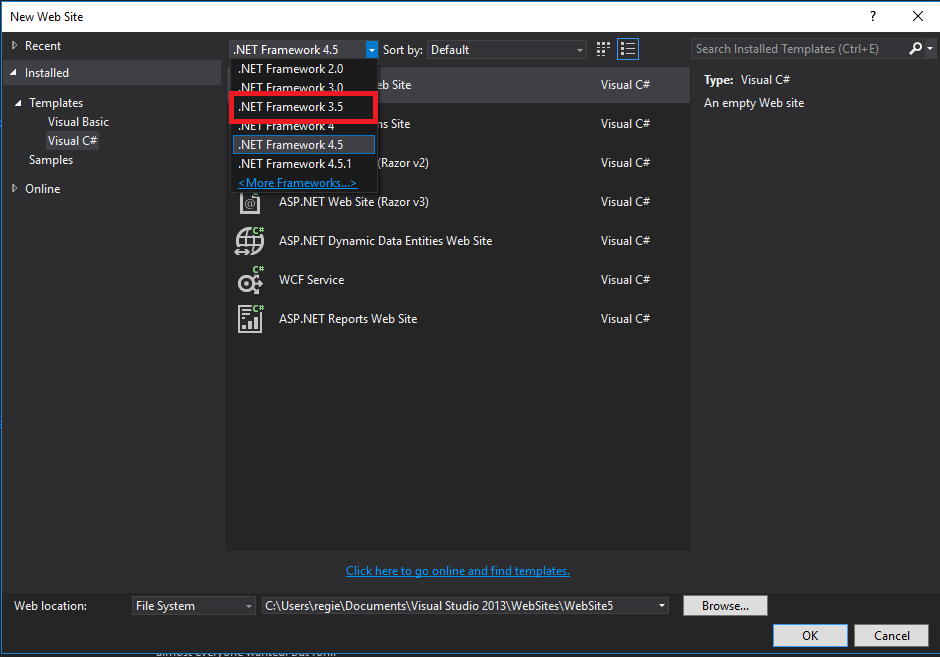
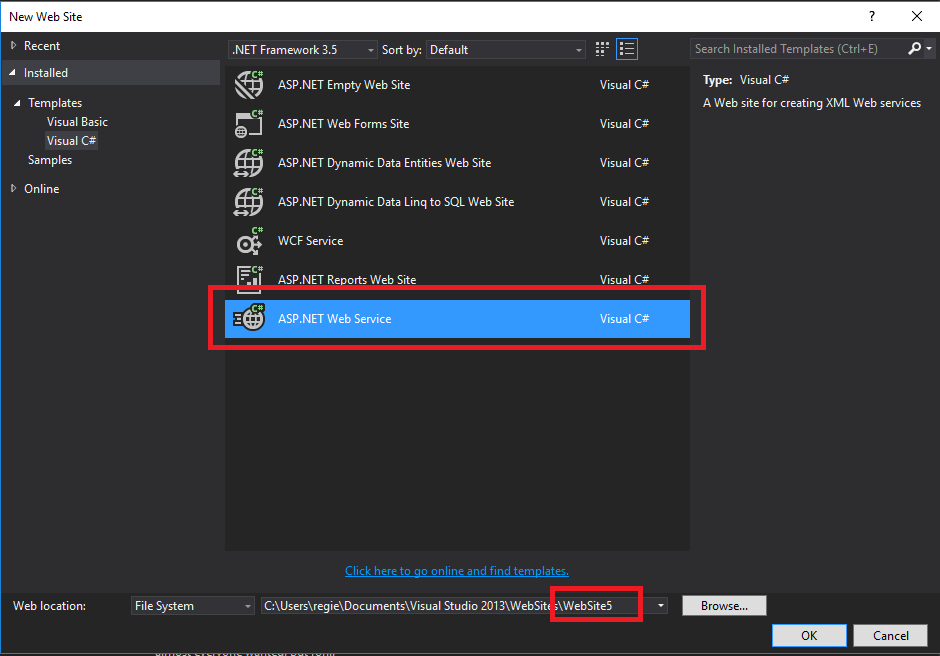
Step 3. Choose ASP.NET Web Service from the middle pane and rename your project
Step 4. The image below is the solution explorer of a newly created website project.
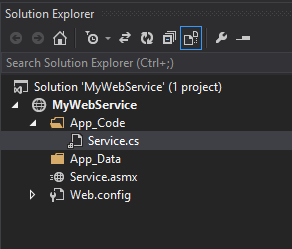
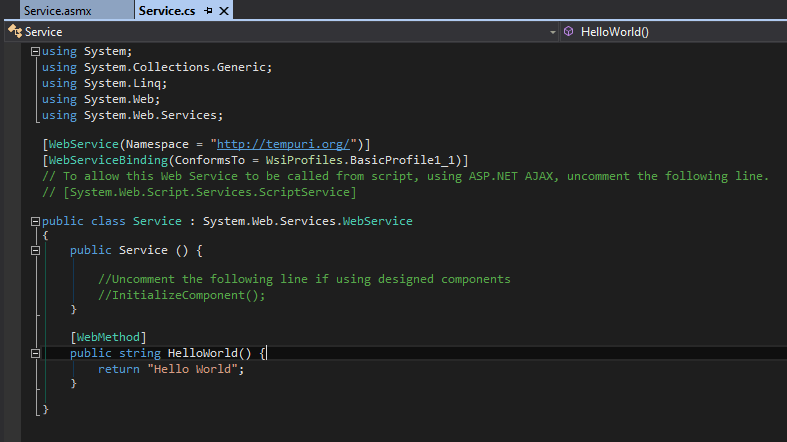
Step 5. Open Service.cs. This file is your primary class containing your web method used for your web service function.
Note:
- [WebMethod] >> this is a declaration for the method that should be accessible on the web.
- This example code returns the Hello World string as the output.
This image is the default code generated for a new Web Site project.
Step 6. To run the project, hit F5 on your keyboard to run the debugging mode or hit CTRL + f5 to run without debugging mode. Your project will display on a browser containing your method HelloWorld().
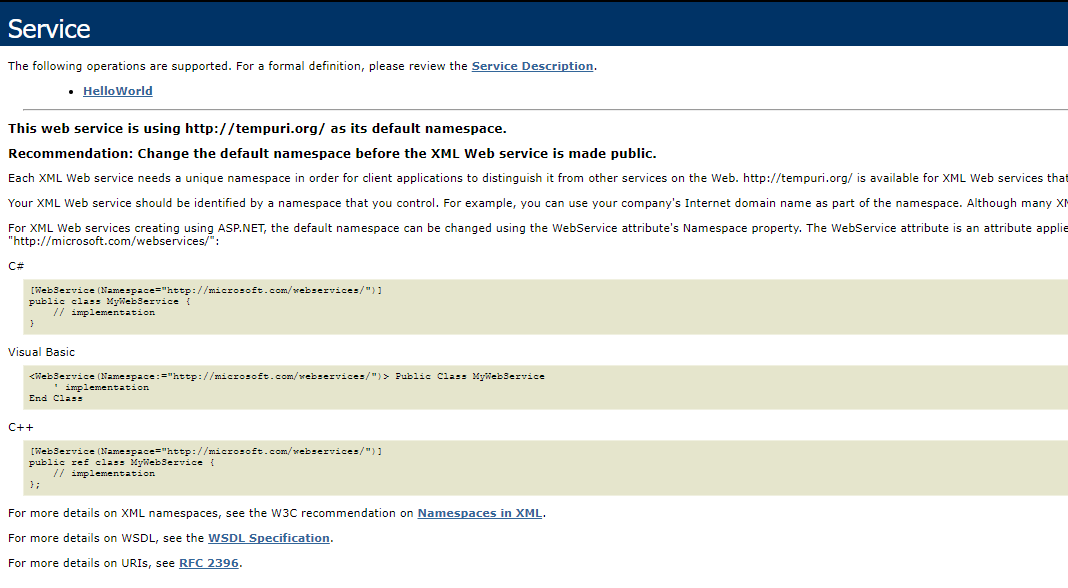
Step 7. To test how web service work click on your method and click invoke button.
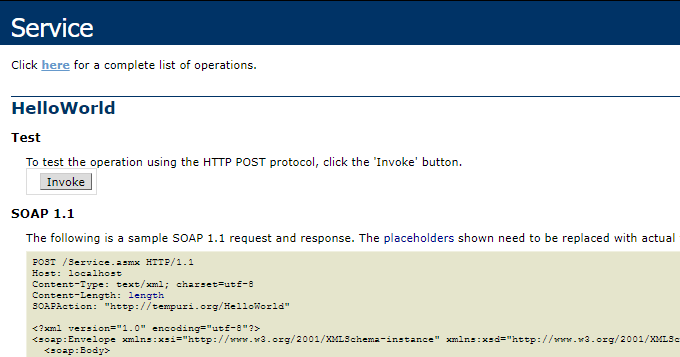
It should bring you to a new tab containing your return value Hello World. It should look like the image shown below.

You have just created your first ASP.NET Web Service project. You can start adding your method now and consume it in a client-side application.
Thank you for reading. Happy coding!!
Also Read : ethernut
