In this tutorial, we will guide you through the process of building a real-time task management application using ASP.NET Core and SignalR. This app will allow users to add, update, and delete tasks with real-time synchronization across all connected clients. If you’re looking to learn how to use SignalR to create interactive, real-time web applications, this guide is for you.
By the end of this tutorial, you’ll have a fully functional task management system where all users see task updates in real time.
Before starting, ensure you have the following tools installed:
- Visual Studio 2022 (or later) with ASP.NET and web development workloads.
- SQL Server for the database (or another configured database provider).
- Node.js and npm (for front-end build processes).
- A modern browser for testing.
Project Setup
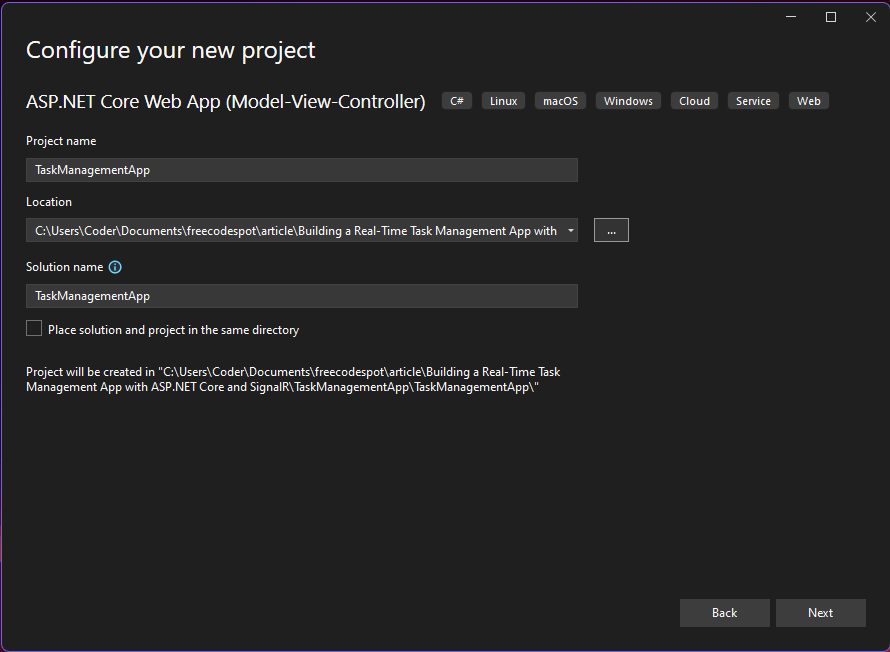
Step 1: Create a New ASP.NET Core Web Application
- Open Visual Studio and select Create a new project.
- Choose ASP.NET Core Web App (Model-View-Controller).
- Name the project
TaskManagementAppand click Next. - Select the .NET version (e.g., .NET 8) and click Create.
Step 2: Install Required NuGet Packages
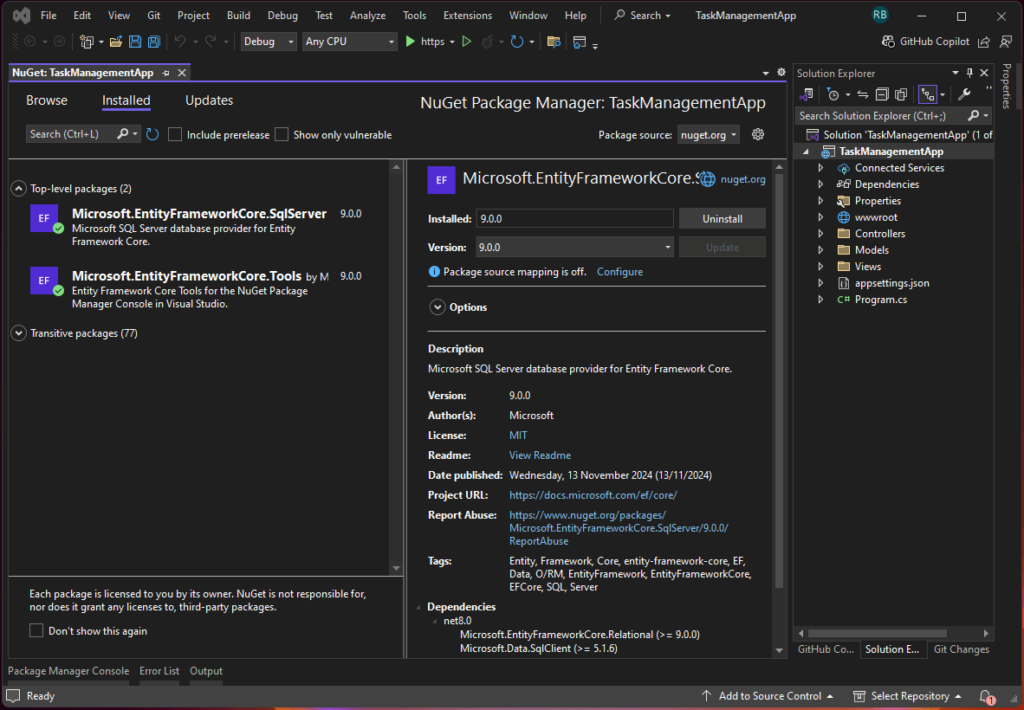
- Open the NuGet Package Manager.
- Install the following packages:
Microsoft.AspNetCore.SignalRMicrosoft.EntityFrameworkCore.SqlServerMicrosoft.EntityFrameworkCore.Tools
Step 3: Set Up the Database
- Create the Task Model:
- Navigate to the
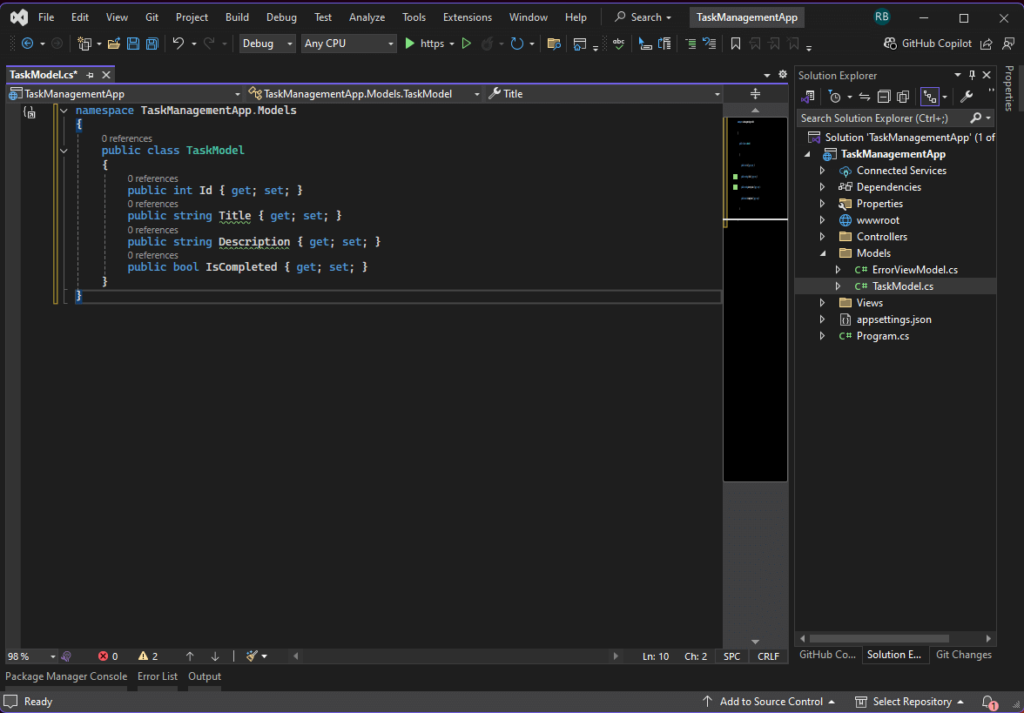
Modelsfolder and create a new class namedTaskModel.cs:
- Navigate to the
namespace TaskManagementApp.Models
{
    public class TaskModel
    {
        public int Id { get; set; }
        public string Title { get; set; }
        public string Description { get; set; }
        public bool IsCompleted { get; set; }
    }
}
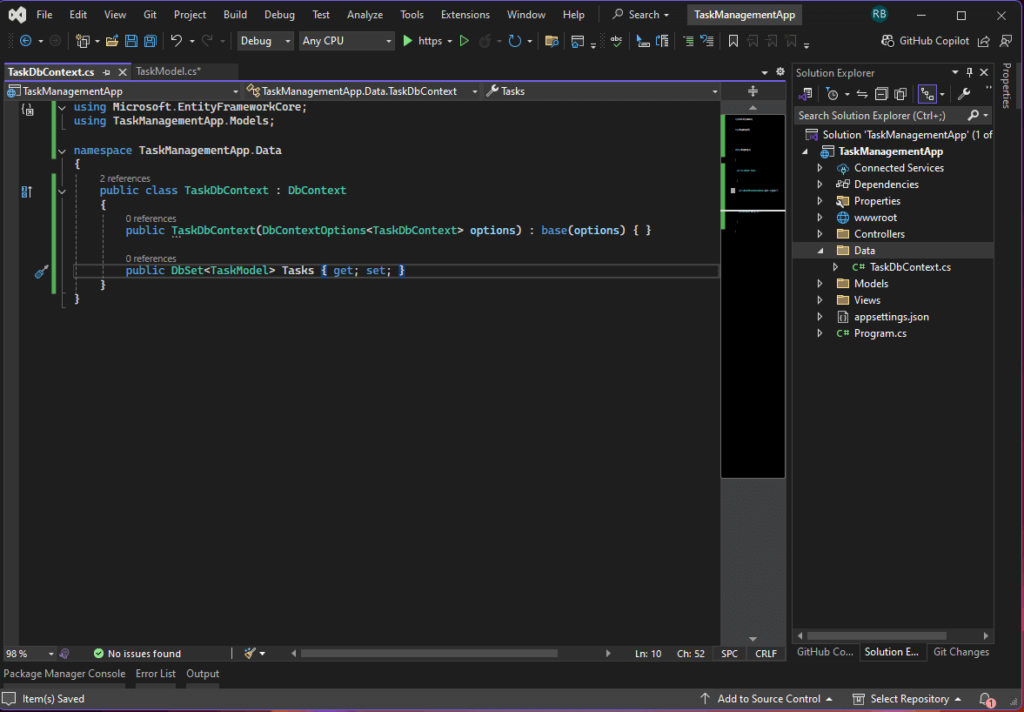
- Configure the Database Context:
- Create a
TaskDbContext.csfile in theDatafolder:
- Create a
using Microsoft.EntityFrameworkCore;
using TaskManagementApp.Models;

namespace TaskManagementApp.Data
{
    public class TaskDbContext : DbContext
    {
        public TaskDbContext(DbContextOptions<TaskDbContext> options) : base(options) { }

        public DbSet<TaskModel> Tasks { get; set; }
    }
}
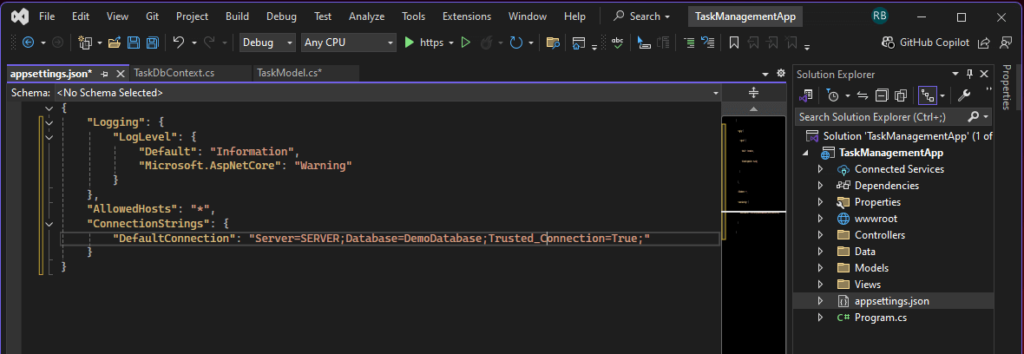
- Update
appsettings.json:- Add the connection string:
"ConnectionStrings": {
    "DefaultConnection": "Server=YOUR_SERVER_NAME;Database=TaskManagementDb;Trusted_Connection=True;"
}
4. Register the Database Context:
- In
Program.cs, register the database service:
builder.Services.AddDbContext<TaskDbContext>(options =>
    options.UseSqlServer(builder.Configuration.GetConnectionString("DefaultConnection")));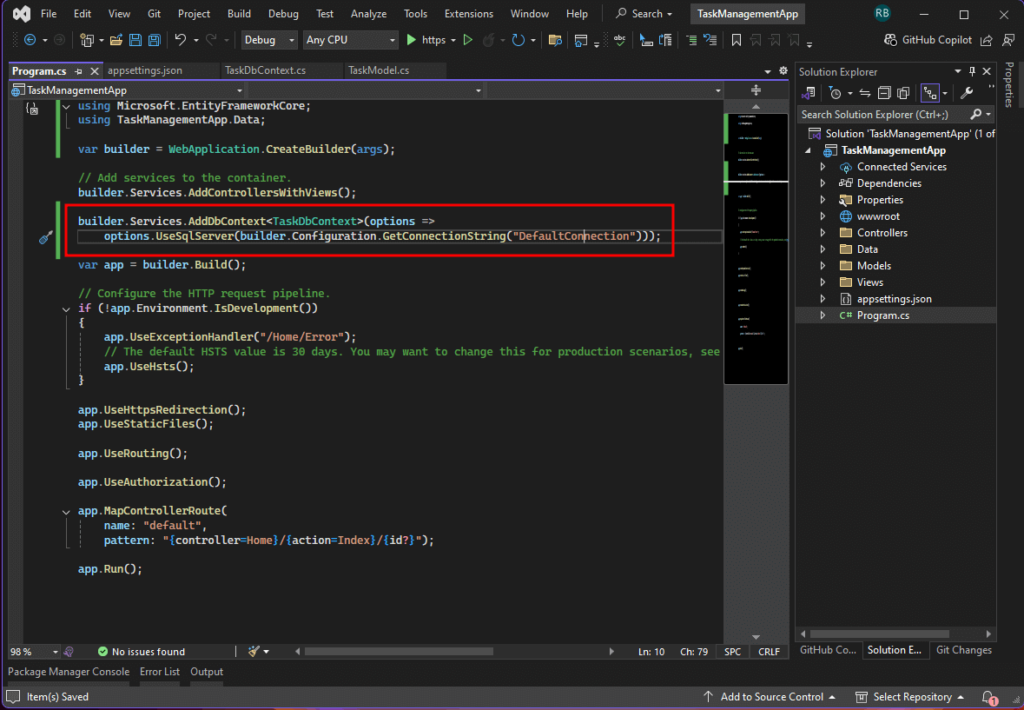
5. Run Migrations:
- In the terminal, run:
dotnet ef migrations add InitialCreate
dotnet ef database update
If you use Visual Studio Package Manager Console you can use the following command.
Add-Migration InitialCreate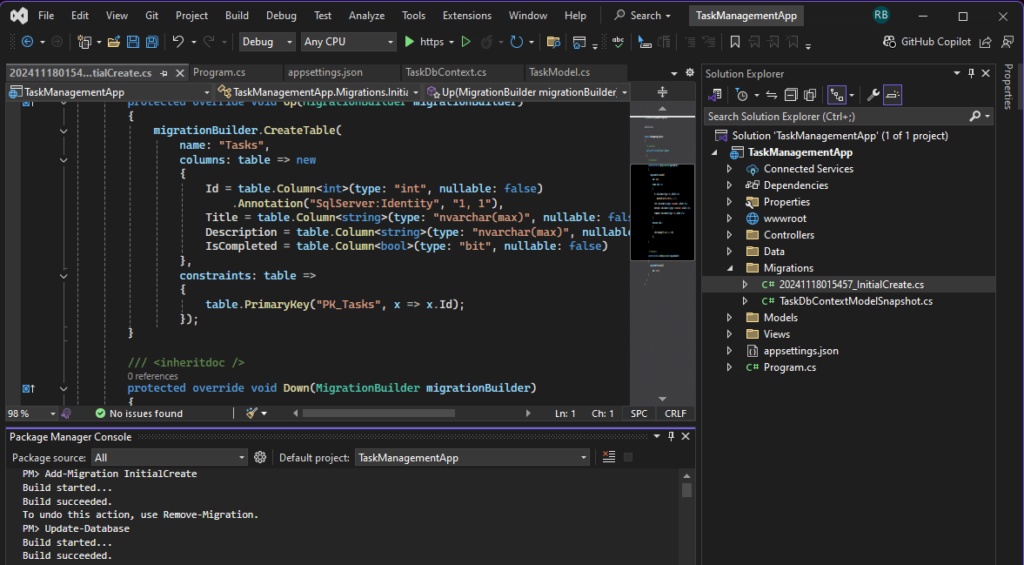
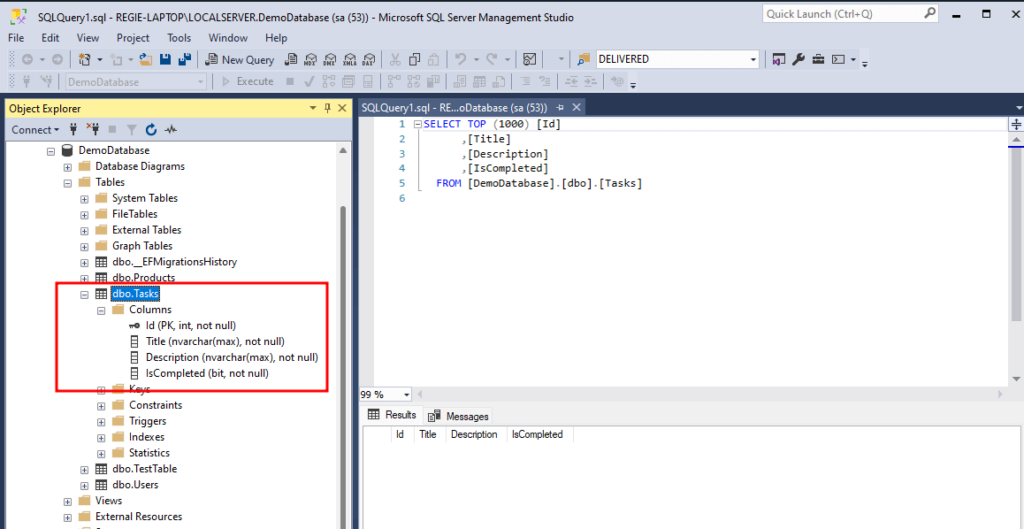
Update-DatabaseThe command above will execute the migration file we created in the previous step. The image below shows the actual table created.
Building the SignalR Hub
Step 4: Create the SignalR Hub
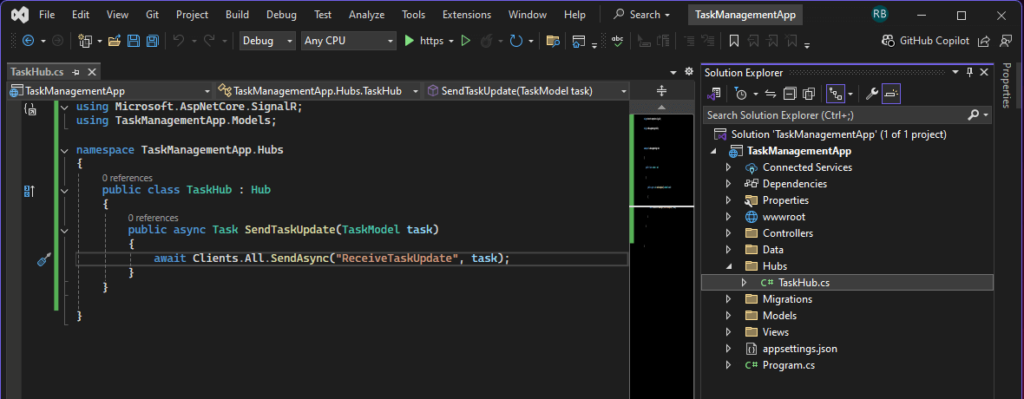
1. Add a folder named Hubs and create a class called TaskHub.cs:
using Microsoft.AspNetCore.SignalR;
using TaskManagementApp.Models;

namespace TaskManagementApp.Hubs
{
    public class TaskHub : Hub
    {
        public async Task SendTaskUpdate(TaskModel task)
        {
            await Clients.All.SendAsync("ReceiveTaskUpdate", task);
        }
    }
}
2. Register the hub in Program.cs:
builder.Services.AddSignalR();

var app = builder.Build();
app.MapHub<TaskHub>("/taskHub");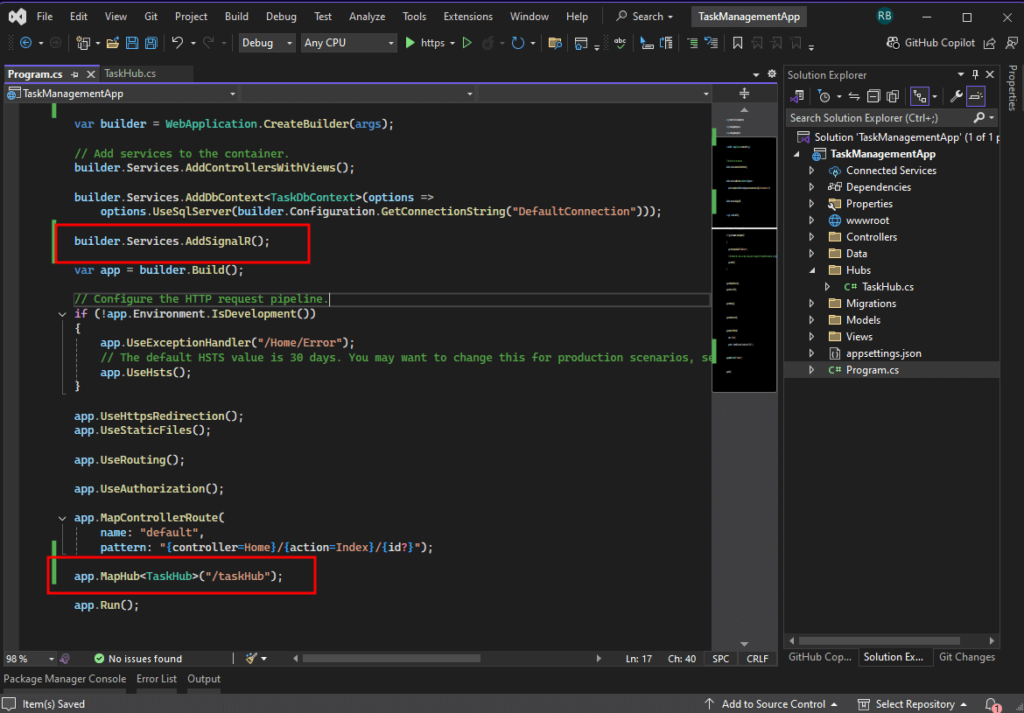
Building the Front-End
Instead of creating a separate project for the client, as is typically done when building standalone client applications, we will integrate the client-side code into the existing ASP.NET Core project. This approach keeps everything in one place for simplicity and demonstration purposes. However, the core concept remains the same if multiple SignalR clients, including standalone or cross-platform apps, connect to your SignalR hub server.
Step 5: Set Up the Front-End
- Include SignalR JavaScript:
- Install the SignalR client library using npm:
- Ensure you have Node.js installed on your system. (You can download it from Node.js).Open the Terminal in Visual Studio:
- Go to View > Terminal or press
Ctrl+(Control + backtick)
- Go to View > Terminal or press
- Run the npm Command in the Terminal:
npm install @microsoft/signalrAfter installation, reference the library as detailed earlier, by either:
- Copying the
signalr.jsfile fromnode_modules/@microsoft/signalr/dist/browserto yourwwwroot/libfolder, or - Importing it directly into your JavaScript file.
Alternative: Use a CDN in the Package Manager Console
If you want to skip npm entirely and are okay with referencing SignalR via a CDN, you can directly include it in your HTML like this:
<script src="https://cdnjs.cloudflare.com/ajax/libs/microsoft-signalr/7.0.5/signalr.min.js"></script>- Add HTML Markup for Task Management:
- In
Views/Home/Index.cshtml:
- In
@{
    ViewData["Title"] = "Task Management";
}

<!DOCTYPE html>
<html lang="en">
<head>
    <meta charset="UTF-8">
    <meta name="viewport" content="width=device-width, initial-scale=1.0">
    <title>Task Management</title>
    <!-- Add Bootstrap CSS -->
    <link href="https://cdn.jsdelivr.net/npm/bootstrap@5.3.0/dist/css/bootstrap.min.css" rel="stylesheet">
    <link rel="stylesheet" href="/css/style.css">
   <script src="https://cdnjs.cloudflare.com/ajax/libs/microsoft-signalr/7.0.5/signalr.min.js"></script>

<style>
/* Custom styles for the Task Management App */
body {
    background-color: #f8f9fa;
}
.card {
    border-radius: 10px;
}
#taskList > div {
    border-bottom: 1px solid #ddd;
    padding: 10px 0;
}
#taskList > div:last-child {
    border-bottom: none;
}
</style>
</head>
<body>
    <div class="container my-5">
        <div class="row">
            <div class="col-12">
                <h1 class="text-center">Task Management App</h1>
                <p class="text-center text-muted">Manage your tasks in real time.</p>
            </div>
        </div>

        <!-- Task List Section -->
        <div class="row mt-4">
            <div class="col-12">
                <div class="card shadow-sm">
                    <div class="card-header bg-primary text-white">
                        <h3 class="mb-0">Task List</h3>
                    </div>
                    <div class="card-body" id="taskList">
                        <p class="text-muted text-center" id="noTasksMessage">No tasks added yet.</p>
                    </div>
                </div>
            </div>
        </div>

        <!-- Add Task Button -->
        <div class="row mt-4 text-center">
            <div class="col-12">
                <button class="btn btn-success btn-lg" data-bs-toggle="modal" data-bs-target="#addTaskModal">
                    <i class="bi bi-plus-circle"></i> Add Task
                </button>
            </div>
        </div>
    </div>

    <!-- Add Task Modal -->
    <div class="modal fade" id="addTaskModal" tabindex="-1" aria-labelledby="addTaskModalLabel" aria-hidden="true">
        <div class="modal-dialog">
            <div class="modal-content">
                <div class="modal-header bg-primary text-white">
                    <h5 class="modal-title" id="addTaskModalLabel">Add New Task</h5>
                    <button type="button" class="btn-close" data-bs-dismiss="modal" aria-label="Close"></button>
                </div>
                <div class="modal-body">
                    <form id="addTaskForm">
                        <div class="mb-3">
                            <label for="taskTitle" class="form-label">Task Title</label>
                            <input type="text" class="form-control" id="taskTitle" placeholder="Enter task title" required>
                        </div>
                        <div class="mb-3">
                            <label for="taskDescription" class="form-label">Task Description</label>
                            <textarea class="form-control" id="taskDescription" rows="3" placeholder="Enter task description"></textarea>
                        </div>
                    </form>
                </div>
                <div class="modal-footer">
                    <button type="button" class="btn btn-secondary" data-bs-dismiss="modal">Close</button>
                    <button type="button" class="btn btn-primary" id="addTaskButton">Add Task</button>
                </div>
            </div>
        </div>
    </div>

    <!-- Add Bootstrap JS -->
    <script src="https://cdn.jsdelivr.net/npm/bootstrap@5.3.0/dist/js/bootstrap.bundle.min.js"></script>
    <script src="/js/taskManager.js"></script>
</body>
</html>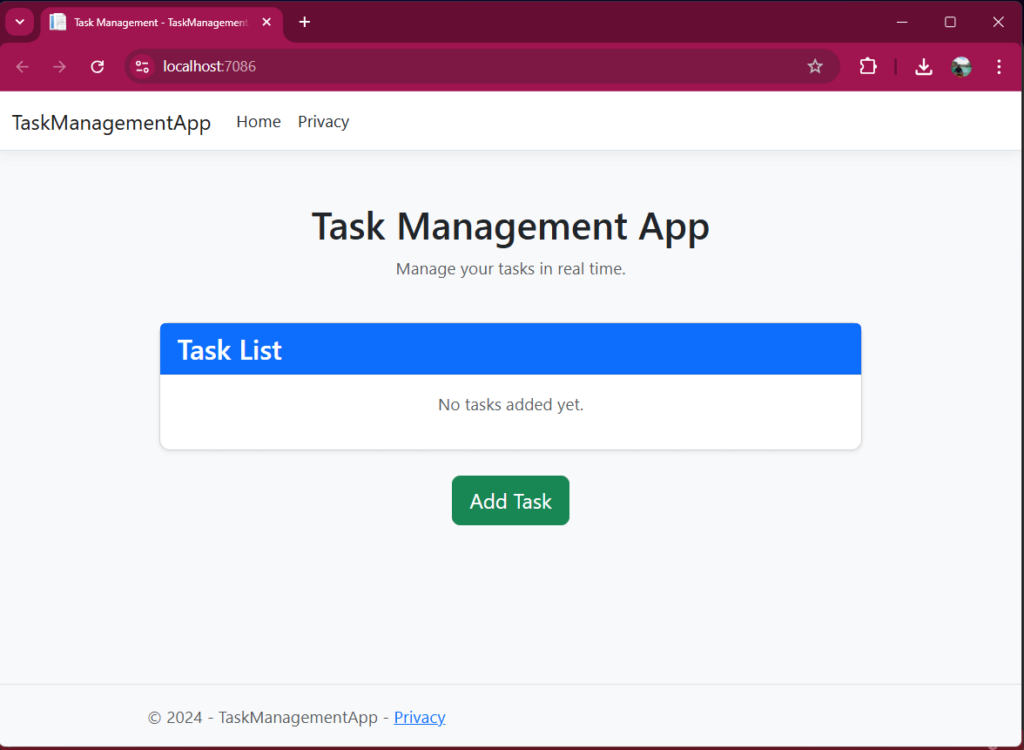
- Create the JavaScript for SignalR:
- Add a
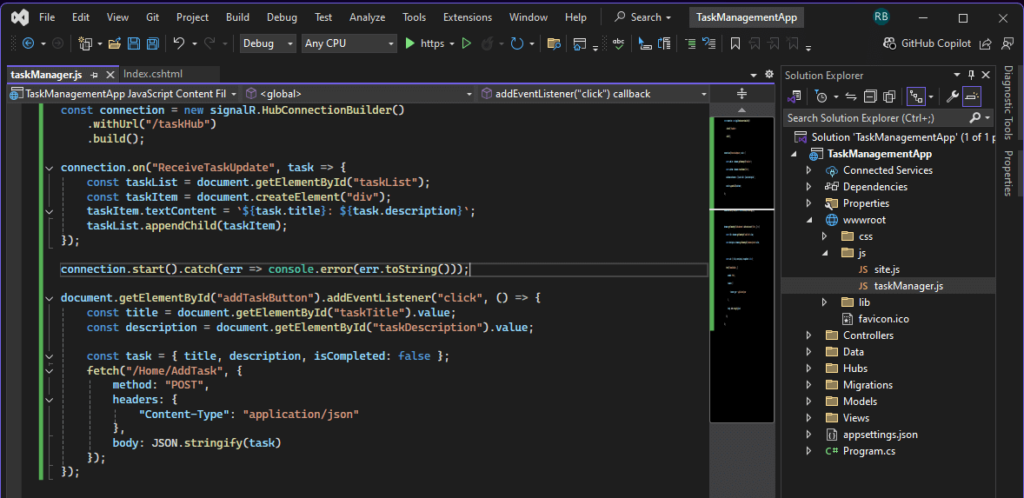
wwwroot/js/taskManager.jsfile:
- Add a
const connection = new signalR.HubConnectionBuilder()
    .withUrl("/taskHub")
    .build();

connection.on("ReceiveTaskUpdate", task => {
    const taskList = document.getElementById("taskList");
    const taskItem = document.createElement("div");
    taskItem.textContent = `${task.title}: ${task.description}`;
    taskList.appendChild(taskItem);
});

connection.start().catch(err => console.error(err.toString()));

document.getElementById("addTaskButton").addEventListener("click", () => {
    const title = document.getElementById("taskTitle").value;
    const description = document.getElementById("taskDescription").value;

    const task = { title, description, isCompleted: false };
    fetch("/Home/AddTask", {
        method: "POST",
        headers: {
            "Content-Type": "application/json"
        },
        body: JSON.stringify(task)
    });
});
Final Steps
Step 6: Implement the Controller
- Add a new controller
HomeController.cs:
using Microsoft.AspNetCore.Mvc;
using Microsoft.AspNetCore.SignalR;
using TaskManagementApp.Data;
using TaskManagementApp.Hubs;
using TaskManagementApp.Models;

namespace TaskManagementApp.Controllers
{
    public class HomeController : Controller
    {
        private readonly TaskDbContext _context;
        private readonly IHubContext<TaskHub> _hubContext;

        public HomeController(TaskDbContext context, IHubContext<TaskHub> hubContext)
        {
            _context = context;
            _hubContext = hubContext;
        }

        [HttpPost]
        public async Task<IActionResult> AddTask([FromBody] TaskModel task)
        {
            _context.Tasks.Add(task);
            await _context.SaveChangesAsync();
            await _hubContext.Clients.All.SendAsync("ReceiveTaskUpdate", task);
            return Ok();
        }
    }
}
2. Update the routing in Program.cs:
app.MapControllerRoute(
    name: "default",
    pattern: "{controller=Home}/{action=Index}/{id?}");
Testing the Application
- Run the application in Visual Studio.
- Open the app in multiple browser tabs.
- Add a task from one tab, and watch it appear in real time across all tabs.
Download Source Code
To download the free source code from this tutorial, click the button below.
Important Notes:
- Ensure you have 7-Zip installed to extract the file. You can download 7-Zip here if you don’t already have it.
- Use the password freecodespot when prompted during extraction.
This source code is designed to work seamlessly with the steps outlined in this tutorial. If you encounter any issues or have questions, feel free to reach out in the comments section below.
Summary
In this tutorial, we’ve built a real-time task management app using ASP.NET Core and SignalR. You’ve learned to:
- Set up a SignalR hub for real-time communication.
- Use Entity Framework Core for database interactions.
- Create a responsive front-end for task management.
You can now expand this project by adding features like task priorities, deadlines, and user-specific task lists. Happy coding!
