In this part of the tutorial, we’ll build a Flutter app to handle user registration, login, and secure real-time chat using SignalR. JWT tokens will be stored in memory for authenticating with the backend API and SignalR server.
Setting Up the Flutter Project
- Create a new Flutter project:
   flutter create secure_chat_flutter
   cd secure_chat_flutter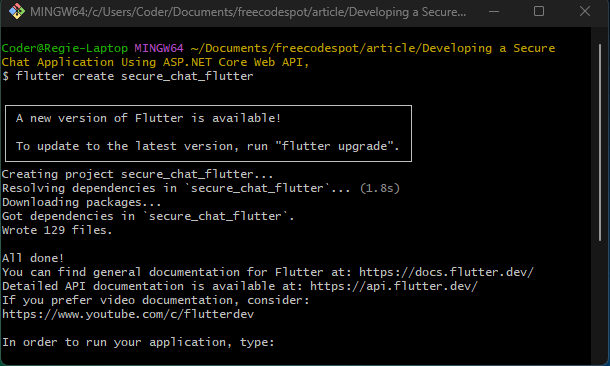
- Open the project in your preferred editor (e.g., Visual Studio Code or Android Studio).
Installing Dependencies
Add the following dependencies to your pubspec.yaml:
dependencies:
  http: ^1.2.2
  signalr_netcore: ^1.4.0
  provider: ^6.1.2
  flutter_secure_storage: ^9.2.2
Run:
flutter pub get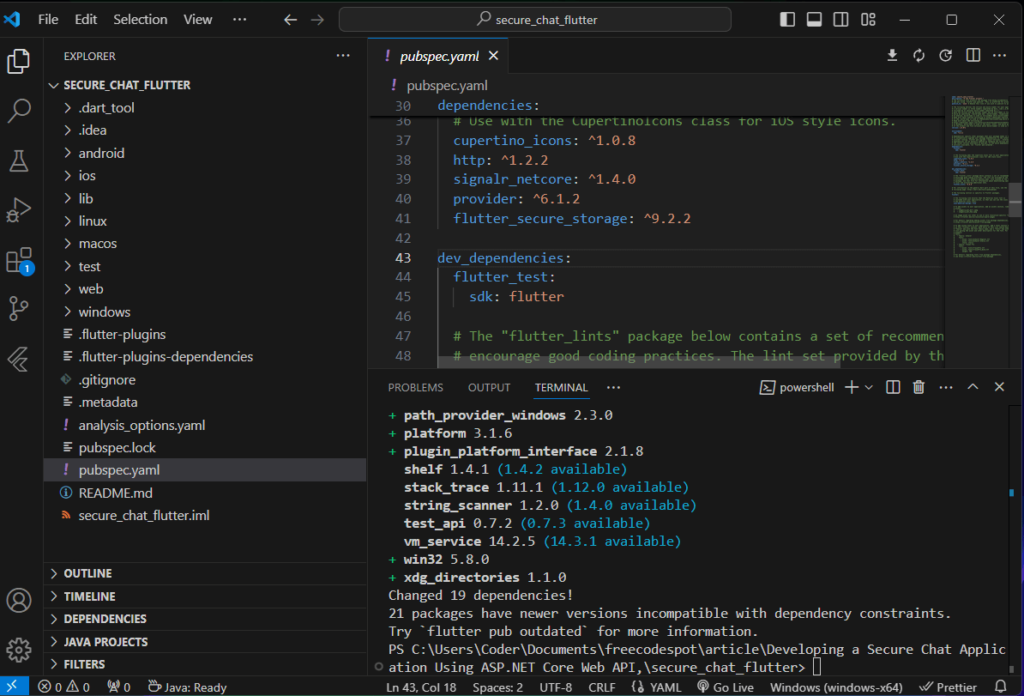
Creating the Registration and Login UI
Step 1: Set up a basic folder structure
Create the following folders under lib/:
lib/screensfor all UI screens.lib/servicesfor backend services like API calls.lib/modelsfor data models.
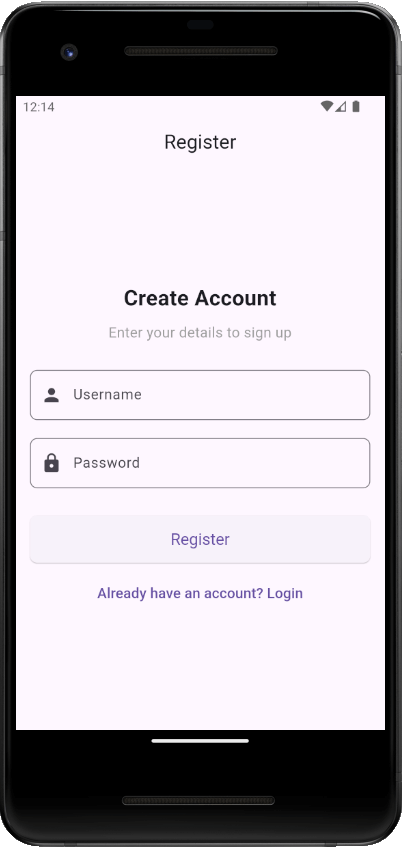
Step 2: Create the Registration Screen
Create a file lib/screens/register_screen.dart:
import 'package:flutter/material.dart';
import 'package:http/http.dart' as http;
import 'dart:convert';

class RegisterScreen extends StatefulWidget {
  const RegisterScreen({super.key});

  @override
  _RegisterScreenState createState() => _RegisterScreenState();
}

class _RegisterScreenState extends State<RegisterScreen> {
  final _usernameController = TextEditingController();
  final _passwordController = TextEditingController();
  final _formKey = GlobalKey<FormState>();
  bool _isLoading = false;

  void _register() async {
    if (_formKey.currentState!.validate()) {
      setState(() {
        _isLoading = true;
      });

      try {
        final response = await http.post(
          Uri.parse('http://10.0.2.2:5221/api/user/register'),
          headers: {'Content-Type': 'application/json'},
          body: jsonEncode({
            'username': _usernameController.text,
            'passwordHash': _passwordController.text,
          }),
        );

        if (response.statusCode == 200) {
          ScaffoldMessenger.of(context).showSnackBar(
            const SnackBar(
                content: Text('Registration successful! Please login.')),
          );
          Navigator.pushReplacementNamed(context, '/login');
        } else {
          ScaffoldMessenger.of(context).showSnackBar(
            const SnackBar(content: Text('Registration failed! Try again.')),
          );
        }
      } catch (e) {
        ScaffoldMessenger.of(context).showSnackBar(
          const SnackBar(content: Text('An error occurred. Please try again.')),
        );
      } finally {
        setState(() {
          _isLoading = false;
        });
      }
    }
  }

  @override
  Widget build(BuildContext context) {
    return Scaffold(
      appBar: AppBar(
        title: const Text('Register'),
        centerTitle: true,
      ),
      body: Center(
        child: SingleChildScrollView(
          padding: const EdgeInsets.all(16.0),
          child: Form(
            key: _formKey,
            child: Column(
              mainAxisAlignment: MainAxisAlignment.center,
              crossAxisAlignment: CrossAxisAlignment.stretch,
              children: [
                const Text(
                  'Create Account',
                  style: TextStyle(
                    fontSize: 24,
                    fontWeight: FontWeight.bold,
                  ),
                  textAlign: TextAlign.center,
                ),
                const SizedBox(height: 10),
                const Text(
                  'Enter your details to sign up',
                  style: TextStyle(fontSize: 16, color: Colors.grey),
                  textAlign: TextAlign.center,
                ),
                const SizedBox(height: 30),
                TextFormField(
                  controller: _usernameController,
                  decoration: InputDecoration(
                    labelText: 'Username',
                    border: OutlineInputBorder(
                      borderRadius: BorderRadius.circular(8.0),
                    ),
                    prefixIcon: const Icon(Icons.person),
                  ),
                  validator: (value) =>
                      value!.isEmpty ? 'Please enter a username' : null,
                ),
                const SizedBox(height: 20),
                TextFormField(
                  controller: _passwordController,
                  decoration: InputDecoration(
                    labelText: 'Password',
                    border: OutlineInputBorder(
                      borderRadius: BorderRadius.circular(8.0),
                    ),
                    prefixIcon: const Icon(Icons.lock),
                  ),
                  obscureText: true,
                  validator: (value) =>
                      value!.isEmpty ? 'Please enter a password' : null,
                ),
                const SizedBox(height: 30),
                _isLoading
                    ? const Center(child: CircularProgressIndicator())
                    : ElevatedButton(
                        onPressed: _register,
                        style: ElevatedButton.styleFrom(
                          padding: const EdgeInsets.symmetric(vertical: 16.0),
                          shape: RoundedRectangleBorder(
                            borderRadius: BorderRadius.circular(8.0),
                          ),
                          textStyle: const TextStyle(fontSize: 18),
                        ),
                        child: const Text('Register'),
                      ),
                const SizedBox(height: 10),
                TextButton(
                  onPressed: () {
                    Navigator.pushReplacementNamed(context, '/login');
                  },
                  child: const Text(
                    'Already have an account? Login',
                    style: TextStyle(fontSize: 16),
                  ),
                ),
              ],
            ),
          ),
        ),
      ),
    );
  }
}
Step 3: Create the Login Screen
Create a file lib/screens/login_screen.dart:
import 'package:flutter/material.dart';
import 'package:http/http.dart' as http;
import 'dart:convert';

class LoginScreen extends StatefulWidget {
  @override
  _LoginScreenState createState() => _LoginScreenState();
}

class _LoginScreenState extends State<LoginScreen> {
  final _usernameController = TextEditingController();
  final _passwordController = TextEditingController();
  final _formKey = GlobalKey<FormState>();
  String? _token;
  bool _isLoading = false;

  void _login() async {
    if (_formKey.currentState!.validate()) {
      setState(() {
        _isLoading = true;
      });

      try {
        final response = await http.post(
          Uri.parse('http://10.0.2.2:5221/api/user/authenticate'),
          headers: {'Content-Type': 'application/json'},
          body: jsonEncode({
            'username': _usernameController.text,
            'password': _passwordController.text,
          }),
        );

        if (response.statusCode == 200) {
          final responseBody = jsonDecode(response.body);
          setState(() {
            _token = responseBody['token'];
          });
          ScaffoldMessenger.of(context).showSnackBar(
            const SnackBar(content: Text('Login successful!')),
          );
          Navigator.pushReplacementNamed(context, '/chat');
        } else {
          ScaffoldMessenger.of(context).showSnackBar(
            const SnackBar(content: Text('Invalid credentials!')),
          );
        }
      } catch (e) {
        ScaffoldMessenger.of(context).showSnackBar(
          const SnackBar(content: Text('An error occurred. Please try again.')),
        );
      } finally {
        setState(() {
          _isLoading = false;
        });
      }
    }
  }

  @override
  Widget build(BuildContext context) {
    return Scaffold(
      appBar: AppBar(
        title: const Text('Login'),
        centerTitle: true,
      ),
      body: Center(
        child: SingleChildScrollView(
          padding: const EdgeInsets.all(16.0),
          child: Form(
            key: _formKey,
            child: Column(
              mainAxisAlignment: MainAxisAlignment.center,
              crossAxisAlignment: CrossAxisAlignment.stretch,
              children: [
                const Text(
                  'Welcome Back',
                  style: TextStyle(
                    fontSize: 24,
                    fontWeight: FontWeight.bold,
                  ),
                  textAlign: TextAlign.center,
                ),
                const SizedBox(height: 10),
                const Text(
                  'Login to your account',
                  style: TextStyle(fontSize: 16, color: Colors.grey),
                  textAlign: TextAlign.center,
                ),
                const SizedBox(height: 30),
                TextFormField(
                  controller: _usernameController,
                  decoration: InputDecoration(
                    labelText: 'Username',
                    border: OutlineInputBorder(
                      borderRadius: BorderRadius.circular(8.0),
                    ),
                    prefixIcon: const Icon(Icons.person),
                  ),
                  validator: (value) =>
                      value!.isEmpty ? 'Please enter a username' : null,
                ),
                const SizedBox(height: 20),
                TextFormField(
                  controller: _passwordController,
                  decoration: InputDecoration(
                    labelText: 'Password',
                    border: OutlineInputBorder(
                      borderRadius: BorderRadius.circular(8.0),
                    ),
                    prefixIcon: const Icon(Icons.lock),
                  ),
                  obscureText: true,
                  validator: (value) =>
                      value!.isEmpty ? 'Please enter a password' : null,
                ),
                const SizedBox(height: 30),
                _isLoading
                    ? const Center(child: CircularProgressIndicator())
                    : ElevatedButton(
                        onPressed: _login,
                        style: ElevatedButton.styleFrom(
                          padding: const EdgeInsets.symmetric(vertical: 16.0),
                          shape: RoundedRectangleBorder(
                            borderRadius: BorderRadius.circular(8.0),
                          ),
                          textStyle: const TextStyle(fontSize: 18),
                        ),
                        child: const Text('Login'),
                      ),
                const SizedBox(height: 10),
                TextButton(
                  onPressed: () {
                    Navigator.pushReplacementNamed(context, '/register');
                  },
                  child: const Text(
                    "Don't have an account? Register",
                    style: TextStyle(fontSize: 16),
                  ),
                ),
              ],
            ),
          ),
        ),
      ),
    );
  }
}

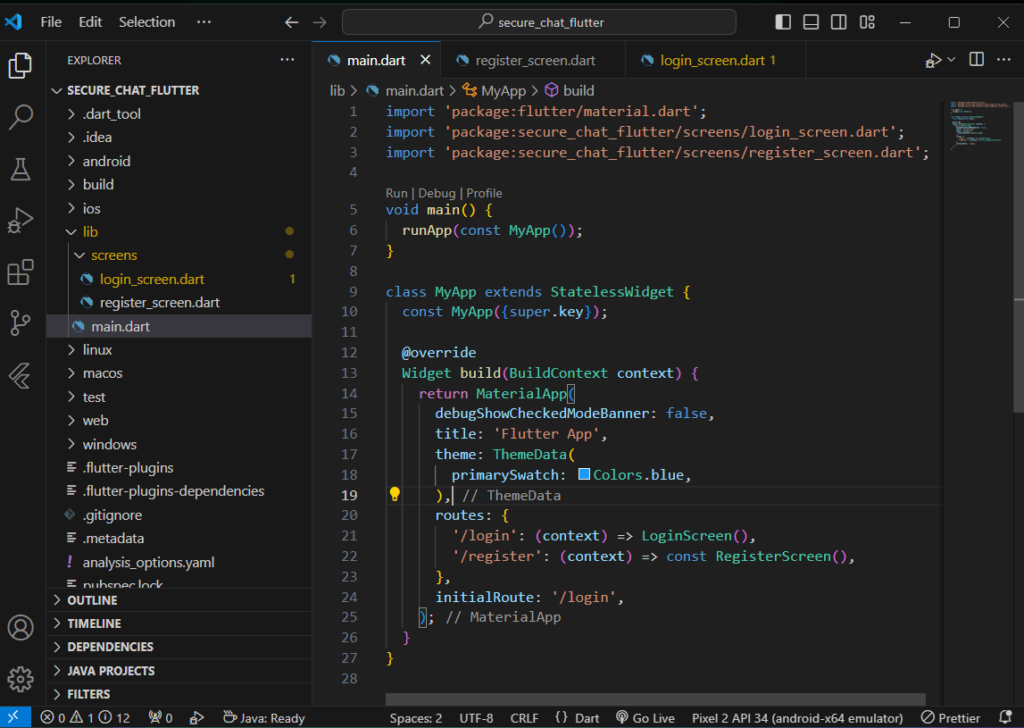
Step 4. Create Route
Add route to main.dart
Open main.dart and update it using the following code snippet.
import 'package:flutter/material.dart';
import 'package:secure_chat_flutter/screens/login_screen.dart';
import 'package:secure_chat_flutter/screens/register_screen.dart';

void main() {
  runApp(const MyApp());
}

class MyApp extends StatelessWidget {
  const MyApp({super.key});

  @override
  Widget build(BuildContext context) {
    return MaterialApp(
      debugShowCheckedModeBanner: false,
      title: 'Flutter App',
      theme: ThemeData(
        primarySwatch: Colors.blue,
      ),
      routes: {
        '/login': (context) => LoginScreen(),
        '/register': (context) => const RegisterScreen(),
      },
      initialRoute: '/login',
    );
  }
}
Storing JWT Tokens in Memory
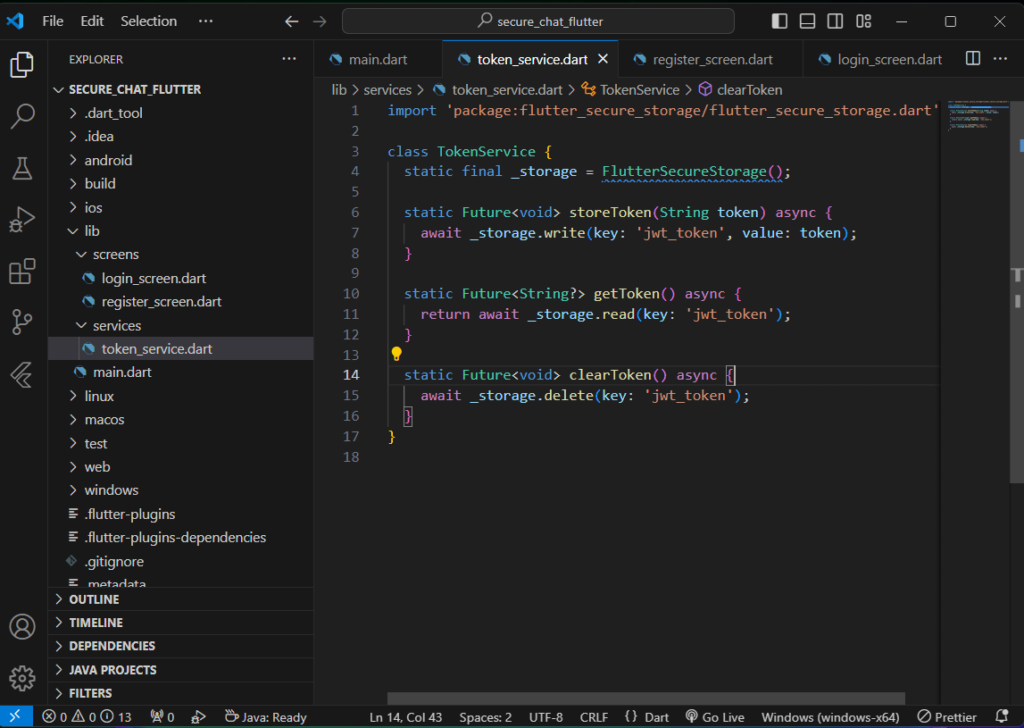
Create a service for managing tokens in lib/services/token_service.dart:
import 'package:flutter_secure_storage/flutter_secure_storage.dart';

class TokenService {
  static final _storage = FlutterSecureStorage();

  static Future<void> storeToken(String token) async {
    await _storage.write(key: 'jwt_token', value: token);
  }

  static Future<String?> getToken() async {
    return await _storage.read(key: 'jwt_token');
  }

  static Future<void> clearToken() async {
    await _storage.delete(key: 'jwt_token');
  }
}
Update the LoginScreen to save tokens:
After successful login, you can call this method to store tokens.
import 'package:secure_chat_flutter/services/token_service.dart';

...

setState(() {
  _token = responseBody['token'];
});
await TokenService.storeToken(_token!);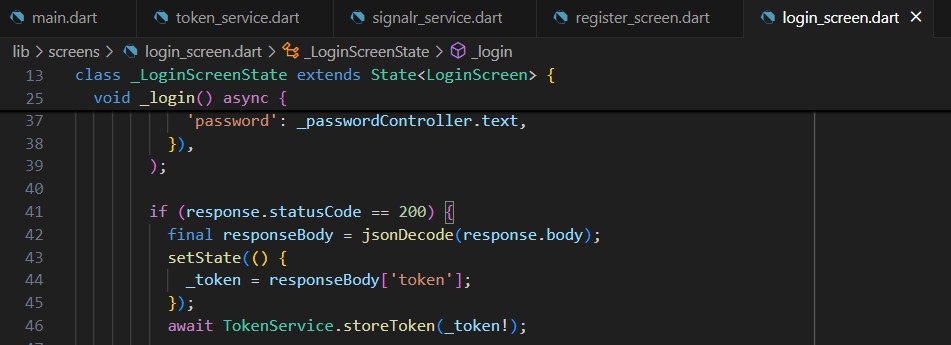
Connecting to the SignalR Server
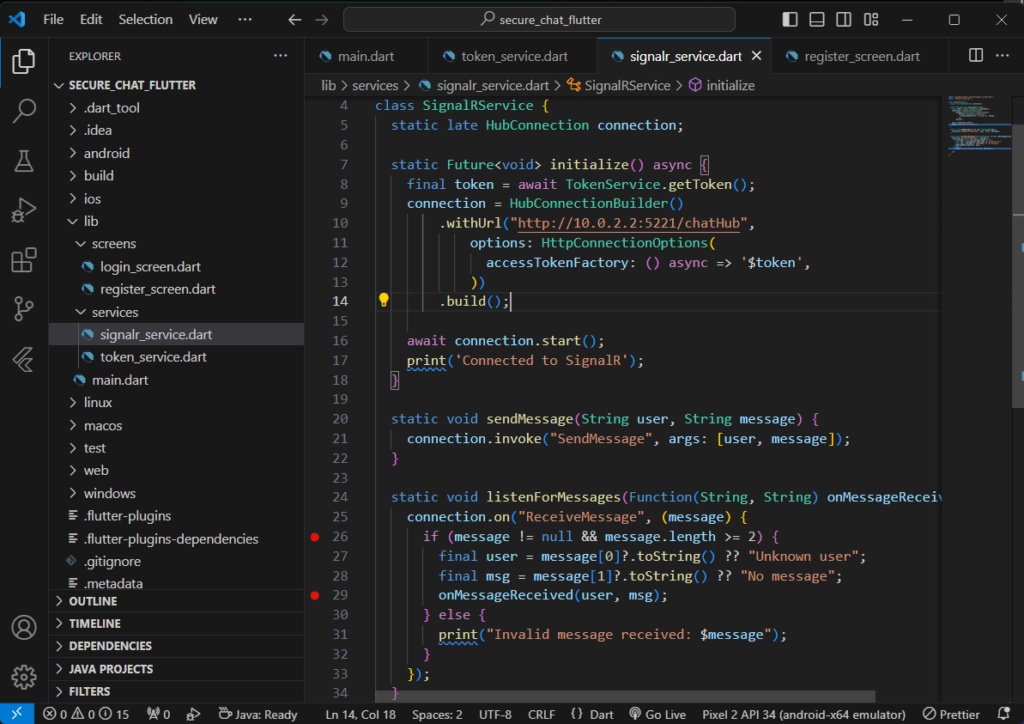
Create the SignalR service in lib/services/signalr_service.dart:
import 'package:signalr_netcore/signalr_client.dart';
import 'token_service.dart';

class SignalRService {
  static late HubConnection connection;

  static Future<void> initialize() async {
    final token = await TokenService.getToken();
    connection = HubConnectionBuilder()
        .withUrl("http://10.0.2.2:5221/chatHub",
            options: HttpConnectionOptions(
              accessTokenFactory: () async => '$token',
            ))
        .build();

    await connection.start();
    print('Connected to SignalR');
  }

  static void sendMessage(String user, String message) {
    connection.invoke("SendMessage", args: [user, message]);
  }

  static void listenForMessages(Function(String, String) onMessageReceived) {
    connection.on("ReceiveMessage", (message) {
      if (message != null && message.length >= 2) {
        final user = message[0]?.toString() ?? "Unknown user";
        final msg = message[1]?.toString() ?? "No message";
        onMessageReceived(user, msg);
      } else {
        print("Invalid message received: $message");
      }
    });
  }
}
Testing SignalR with Android Emulator: Why URLs May Vary (HTTP, HTTPS)
When testing a SignalR-enabled backend with an Android Emulator, you may notice that URLs vary depending on the setup (HTTP, HTTPS, or 10.0.2.2). This is normal due to differences in how the Android Emulator interacts with the host machine and backend configurations.
Understanding Your Project Setup
LaunchSettings.json Configuration
Your launchSettings.json defines how the application runs during development. Here’s a breakdown of the settings you provided:
- HTTP Profile:
- Runs the application using
http://localhost:5221. - Example use case: Quick testing without HTTPS complexity.
- Runs the application using
- HTTPS Profile:
- Uses
https://localhost:7292andhttp://localhost:5221. - Example use case: Testing secure communication with HTTPS.
- Uses
- IIS Express Profile:
- Runs the application in IIS Express with default URLs.
- Example use case: Testing with IIS Express on a Windows environment.
SignalR Server Customization
I modified the SignalR server in my ASP.NET Core Web API project to send a welcome message whenever a new client connects. This makes it easy to verify that the connection is working properly. If you’re following along, you can download the project from the previous article in this series.
public override async Task OnConnectedAsync()
{
    string user = Context.User?.Identity?.Name ?? "Guest";
    await Clients.Caller.SendAsync("ReceiveMessage", "System", $"Welcome {user}, you are successfully connected to the chat!");
    await base.OnConnectedAsync();
}
You can download the SignalR server from part 1 of this series. » Visit Article.
Testing with Android Emulator
Why URLs May Vary
When using an Android Emulator, the way it accesses the host machine’s localhost differs:
localhostand127.0.0.1:- Refers to the emulator itself, not your development machine.
- Do not use
localhostin the emulator for server communication.
- Special Alias for Host Machine:
10.0.2.2:- Android Emulator provides the special IP
10.0.2.2to access the host machine’s localhost. - Use this for HTTP/HTTPS requests from the emulator.
- Android Emulator provides the special IP
- HTTP and HTTPS:
- Use
http://10.0.2.2:<port>for HTTP. - Use
https://10.0.2.2:<port>for HTTPS.
- Use
How to Test SignalR
1. Set Up SignalR in Flutter: Initialize the SignalR connection after logging in.
SignalRService.initialize();
SignalRService.listenForMessages((user, message) {
  print('Message from $user: $message');
});
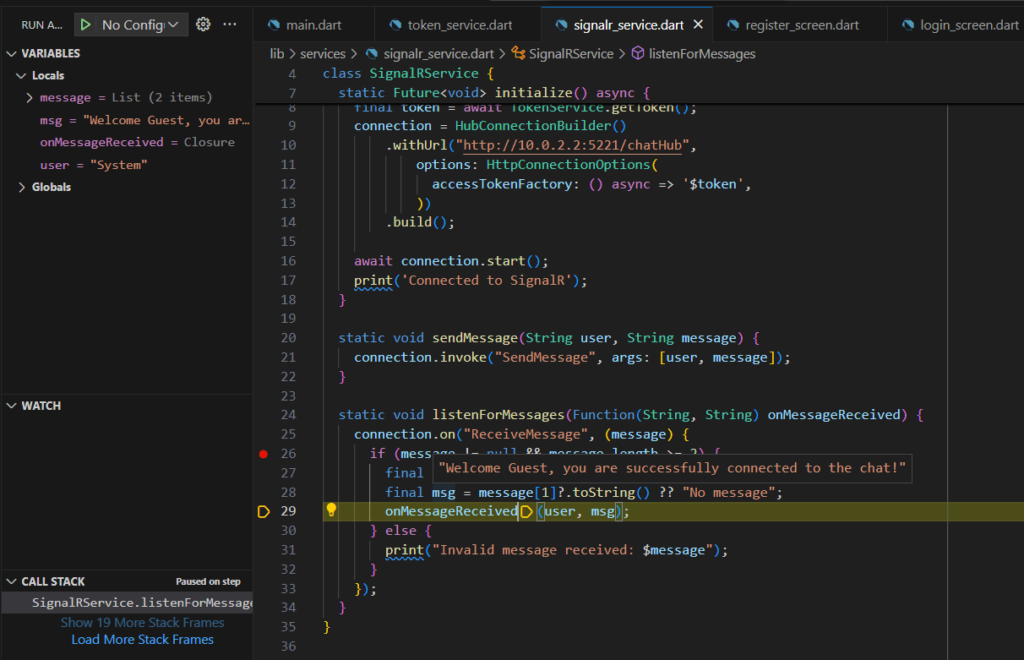
2. Debugging the listenForMessages Method: Ensure the ReceiveMessage method works as expected by inspecting the values.
static void listenForMessages(Function(String, String) onMessageReceived) {
  connection.on("ReceiveMessage", (message) {
    if (message != null && message.length >= 2) {
      final user = message[0]?.toString() ?? "Unknown user";
      final msg = message[1]?.toString() ?? "No message";
      onMessageReceived(user, msg);
    } else {
      print("Invalid message received: $message");
    }
  });
}
This method listens for messages from the SignalR server and logs them for debugging.
3. Testing URLs in the Emulator:
- For HTTP:
Uri.parse('http://10.0.2.2:5221/api/user/authenticate');- For HTTPS:
Uri.parse('https://10.0.2.2:7292/api/user/authenticate');4. Verify Connection:
- After successful login, the emulator should receive a welcome message from the SignalR server
System: Welcome [Username], you are successfully connected to the chat!5. Debug SignalR Responses:
- Monitor the
listenForMessagescallback for messages sent from the server.
Troubleshooting
Common Issues
- Connection Refused:
- Ensure the correct
10.0.2.2alias is used. - Check if the backend is running on the specified port.
- Ensure the correct
- HTTPS Certificate Issues:
- For development, bypass SSL validation in Flutter
import 'dart:io';

class MyHttpOverrides extends HttpOverrides {
  @override
  HttpClient createHttpClient(SecurityContext? context) {
    return super.createHttpClient(context)
      ..badCertificateCallback =
          (X509Certificate cert, String host, int port) => true;
  }
}

void main() {
  HttpOverrides.global = MyHttpOverrides();
  runApp(MyApp());
}
3. CORS Errors:
- Add a CORS policy in
Program.cs:
builder.Services.AddCors(options =>
{
    options.AddPolicy("AllowAll",
        policy => policy.AllowAnyOrigin()
                        .AllowAnyMethod()
                        .AllowAnyHeader());
});

app.UseCors("AllowAll");
Download Source Code
To download the free source code from this tutorial, click the button below.
Important Notes:
- Ensure you have 7-Zip installed to extract the file. You can download 7-Zip here if you don’t already have it.
- Use the password freecodespot when prompted during extraction.
This source code is designed to work seamlessly with the steps outlined in this tutorial. If you encounter any issues or have questions, feel free to reach out in the comments section below.
You can also use this link to download the demo project: Secure Chat App Demo – Part 2.
What’s Next?
Great job! You’ve successfully set up the Flutter front-end, integrated it with the backend API, and connected it to the SignalR server. At this point, your app can handle user registration, login, and secure real-time messaging.
Next Steps
In the next and final part of this series, we’ll focus on:
- Building the Chat UI: A clean and functional user interface for sending and receiving messages.
- Testing the Full Application: Running the app on multiple devices to ensure it works flawlessly.
Stay tuned for Part 3: Building the Chat UI and Testing the Complete Application. Let’s bring the chat app to life and see it in action!