In this article, we’ll build a Real-Time Event Notification System using ASP.NET Core, SQL Server Notifications, and SignalR. This system will demonstrate how to notify users in real-time when an order status changes, making it perfect for dashboards or alerting systems.
By the end, you’ll have a fully functional Online Order Tracking System that connects a SQL Server database to an ASP.NET Core Web API and a Blazor front-end.
Before we start, ensure you have the following installed:
- Visual Studio 2022 with ASP.NET and web development workload.
- SQL Server (local or remote).
- .NET 8 SDK.
- Basic knowledge of SignalR, Blazor, and SQL.
Step 1. Set Up the SQL Server Database
We’ll start by creating a database to store and monitor order statuses.
1. Open SQL Server Management Studio (SSMS) and run the following script to create a database and table.
CREATE DATABASE OrderTrackingDB;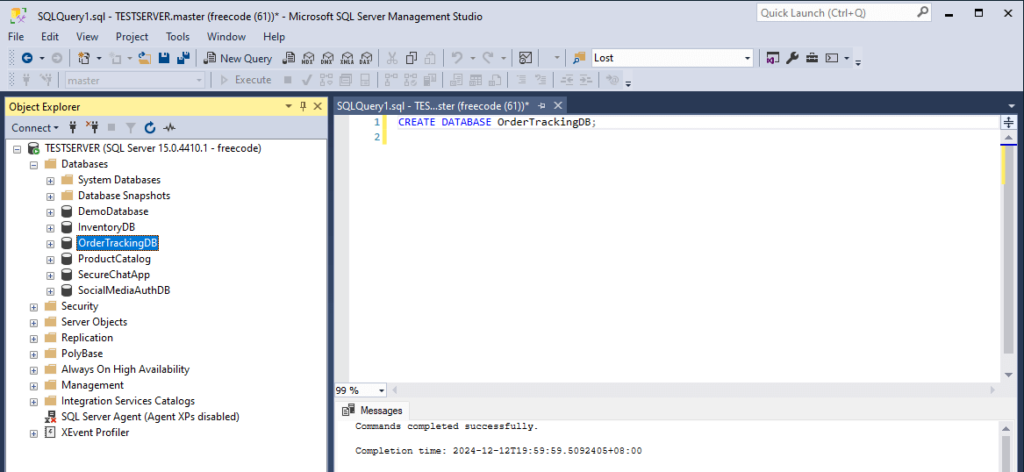
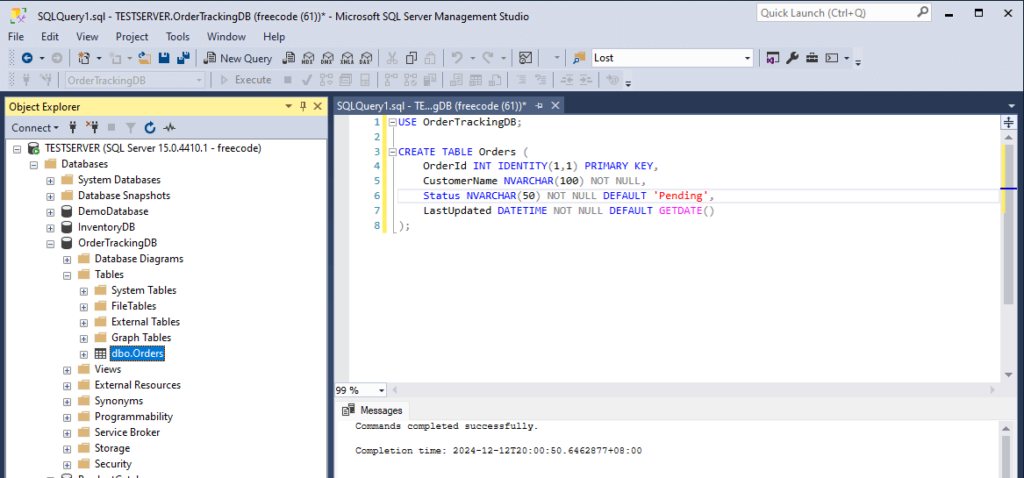
Create Orders table:
USE OrderTrackingDB;

CREATE TABLE Orders (
    OrderId INT IDENTITY(1,1) PRIMARY KEY,
    CustomerName NVARCHAR(100) NOT NULL,
    Status NVARCHAR(50) NOT NULL DEFAULT 'Pending',
    LastUpdated DATETIME NOT NULL DEFAULT GETDATE()
);
2. Insert some sample data.
INSERT INTO Orders (CustomerName, Status) VALUES
('Alice', 'Pending'),
('Bob', 'Processing'),
('Charlie', 'Completed');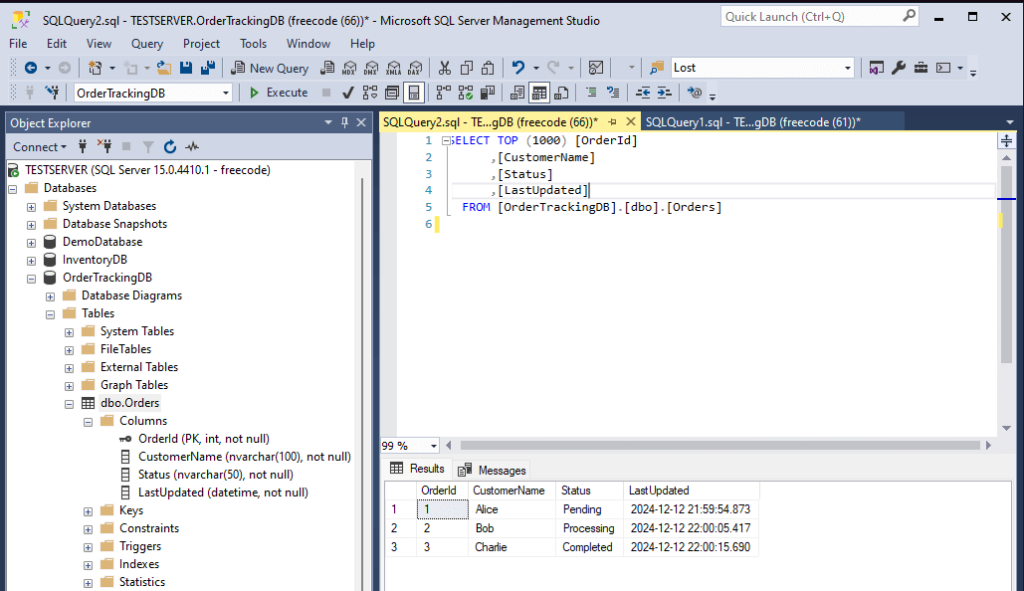
3. Enable SQL Server notifications.
ALTER DATABASE OrderTrackingDB SET ENABLE_BROKER;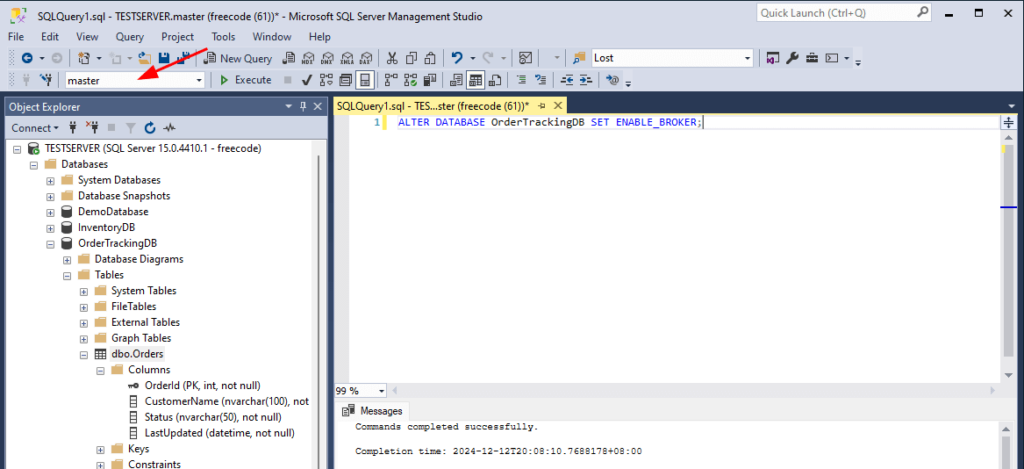
Step 2: Create the ASP.NET Core Web API with SignalR
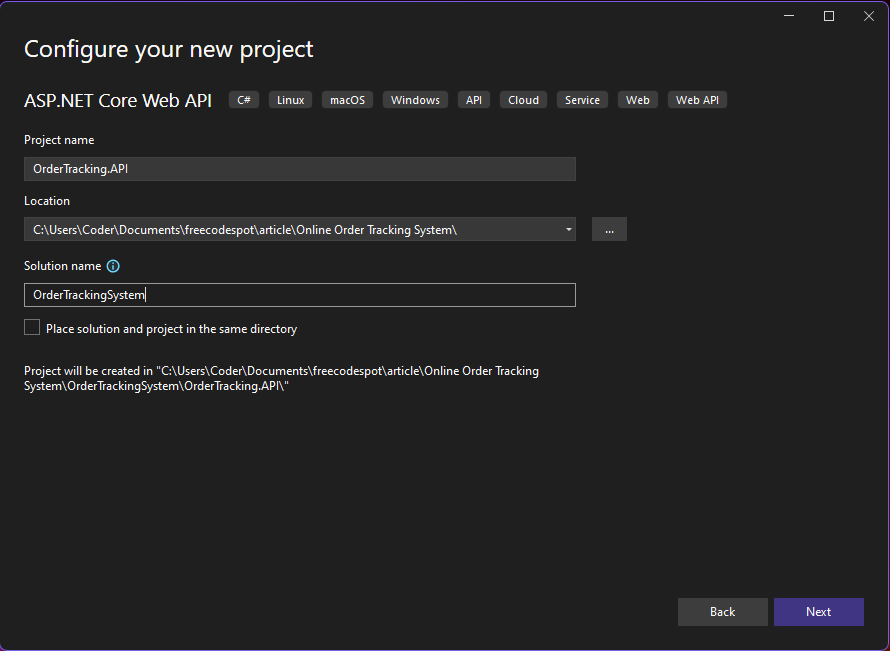
2.1 Create the Project
- Open Visual Studio.
- Create a new ASP.NET Core Web API project.
- Name the project
OrderTracking.API.
2.2 Install Required Packages
Run the following commands in the Package Manager Console.
Install-Package Microsoft.AspNetCore.SignalR
Install-Package Microsoft.Data.SqlClient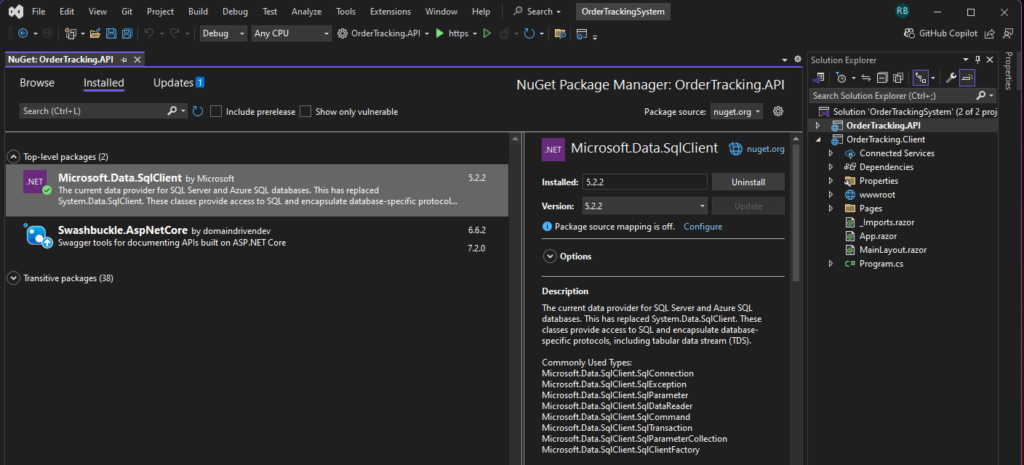
2.3 Configure SQL Dependency
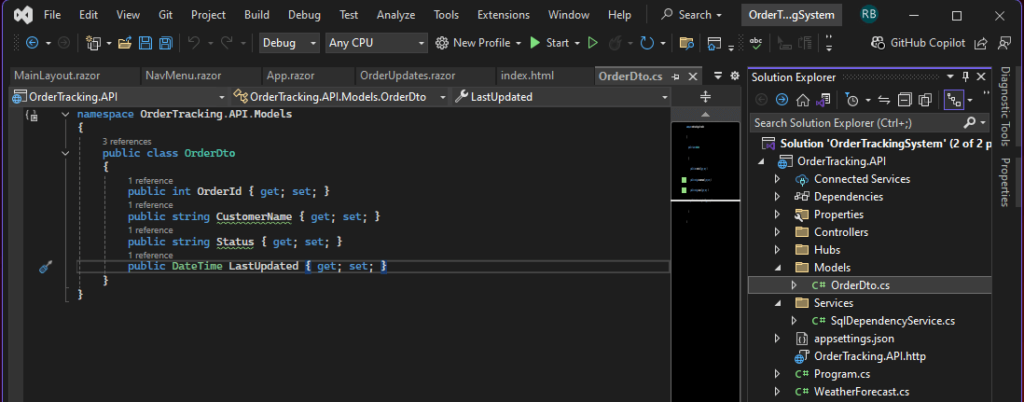
1. Create OrderDto.cs file inside Models folder.
namespace OrderTracking.API.Models
{
    public class OrderDto
    {
        public int OrderId { get; set; }
        public string CustomerName { get; set; }
        public string Status { get; set; }
        public DateTime LastUpdated { get; set; }
    }
}
2. Add a new service for SQL notifications. Create a file SqlDependencyService.cs in the Services folder.
using Microsoft.AspNetCore.SignalR;
using Microsoft.Data.SqlClient;
using OrderTracking.API.Hubs;
using OrderTracking.API.Models;

namespace OrderTracking.API.Services
{
    public class SqlDependencyService
    {
        private readonly IHubContext<NotificationHub> _hubContext;

        public SqlDependencyService(IHubContext<NotificationHub> hubContext)
        {
            _hubContext = hubContext;
        }

        public void Start()
        {
            var connectionString = "Server=TESTSERVER;Database=OrderTrackingDB;User Id=freecode;Password=freecode;TrustServerCertificate=True;";

            using var connection = new SqlConnection(connectionString);
            connection.Open();

            var command = new SqlCommand("SELECT OrderId, CustomerName, Status, LastUpdated FROM dbo.Orders", connection);

            var dependency = new SqlDependency(command);
            dependency.OnChange += async (sender, e) => await OnOrderStatusChangedAsync(connectionString);

            command.ExecuteReader();
        }

        private async Task OnOrderStatusChangedAsync(string connectionString)
        {
            var updatedOrders = GetUpdatedOrders(connectionString);

            if (updatedOrders.Count > 0)
            {
                // Send the updated or new data to connected clients
                await _hubContext.Clients.All.SendAsync("ReceiveNotification", updatedOrders);
            }

            // Re-subscribe to the dependency to continue monitoring
            Start();
        }

        private List<OrderDto> GetUpdatedOrders(string connectionString)
        {
            var updatedOrders = new List<OrderDto>();

            using var connection = new SqlConnection(connectionString);
            connection.Open();

            // Query to fetch the latest updated or newly inserted rows
            // Adjust the query based on your use case (e.g., use a timestamp or specific logic)
            var query = @"
            SELECT TOP 10 OrderId, CustomerName, Status, LastUpdated
            FROM dbo.Orders
            ORDER BY LastUpdated DESC";

            using var command = new SqlCommand(query, connection);
            using var reader = command.ExecuteReader();

            while (reader.Read())
            {
                updatedOrders.Add(new OrderDto
                {
                    OrderId = reader.GetInt32(0),
                    CustomerName = reader.GetString(1),
                    Status = reader.GetString(2),
                    LastUpdated = reader.GetDateTime(3)
                });
            }

            return updatedOrders;
        }
    }
}
2.4 Create a SignalR Hub
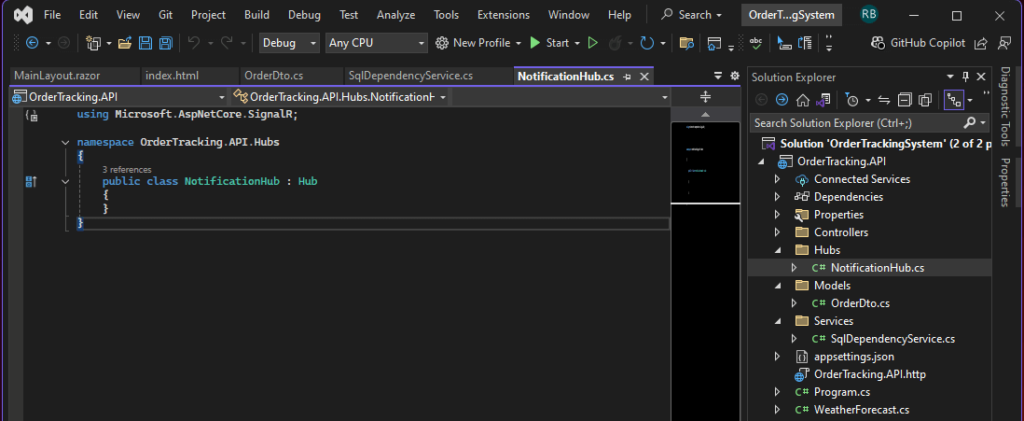
1. Add a new class NotificationHub.cs.
using Microsoft.AspNetCore.SignalR;

namespace OrderTracking.API.Hubs
{
    public class NotificationHub : Hub
    {
    }
}
2.5 Register Services in Program.cs
Update Program.cs to include SignalR and the SQL Dependency Service.
var builder = WebApplication.CreateBuilder(args);

builder.Services.AddSignalR();
builder.Services.AddSingleton<SqlDependencyService>();

var app = builder.Build();

app.MapHub<NotificationHub>("/notificationHub");

app.Lifetime.ApplicationStarted.Register(() =>
{
    var sqlDependencyService = app.Services.GetRequiredService<SqlDependencyService>();
    sqlDependencyService.Start();
});

app.Run();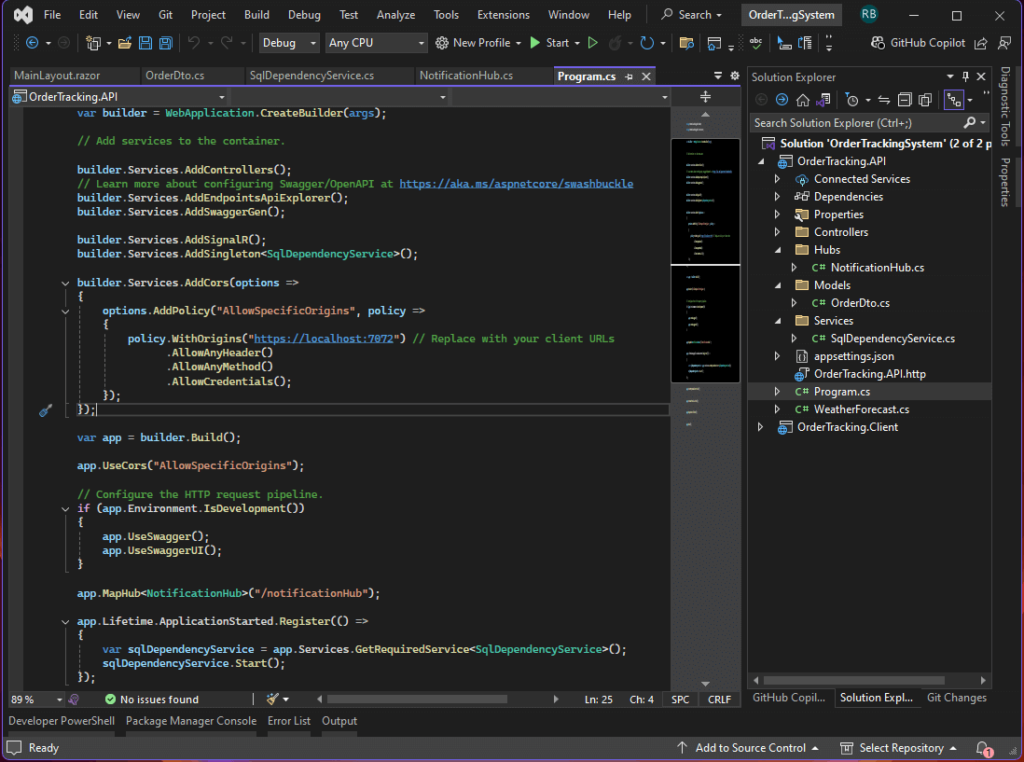
Step 3: Create the Blazor Front-End
3.1 Create the Blazor Project
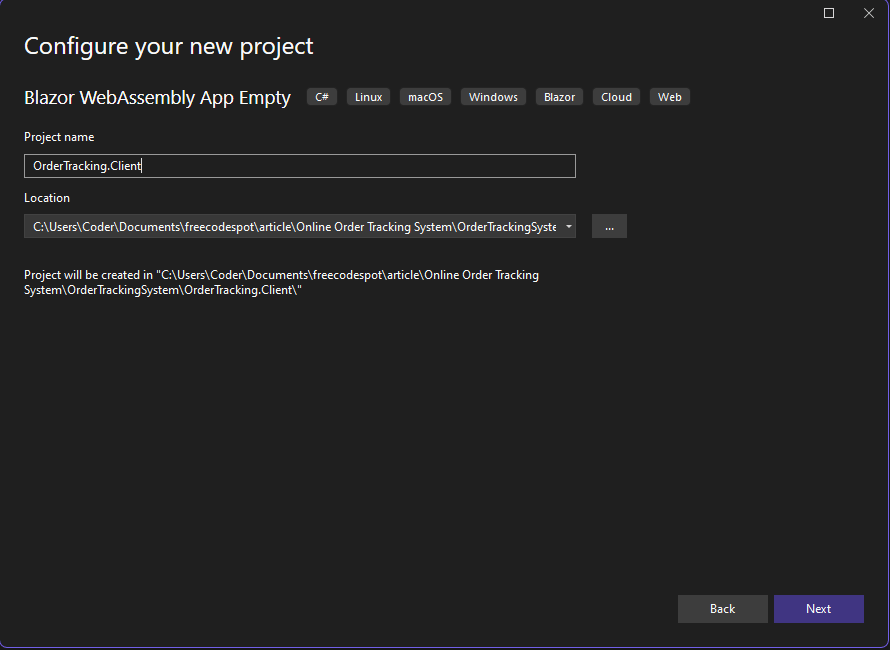
1. In the same solution, add a new Blazor WebAssembly project named OrderTracking.Client.
3.2 Install SignalR Client Package
Run the following command in the Package Manager Console:
dotnet add package Microsoft.AspNetCore.SignalR.Client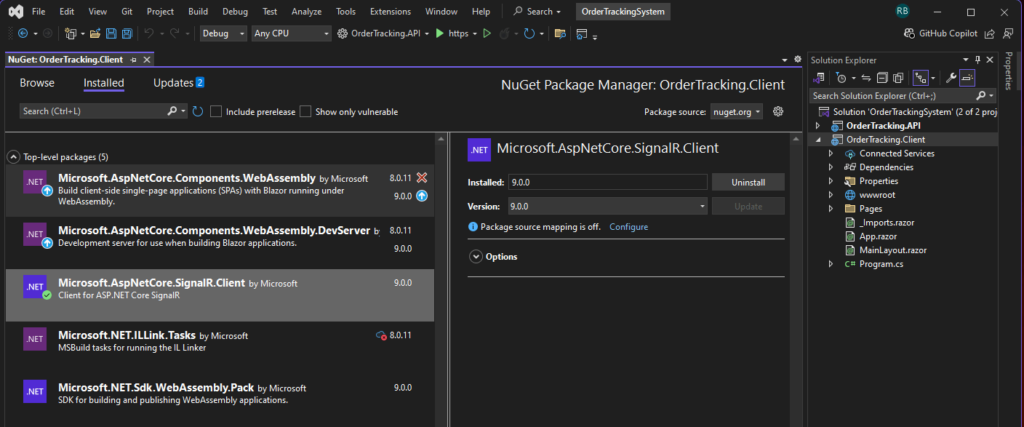
3.3 Connect to SignalR Hub
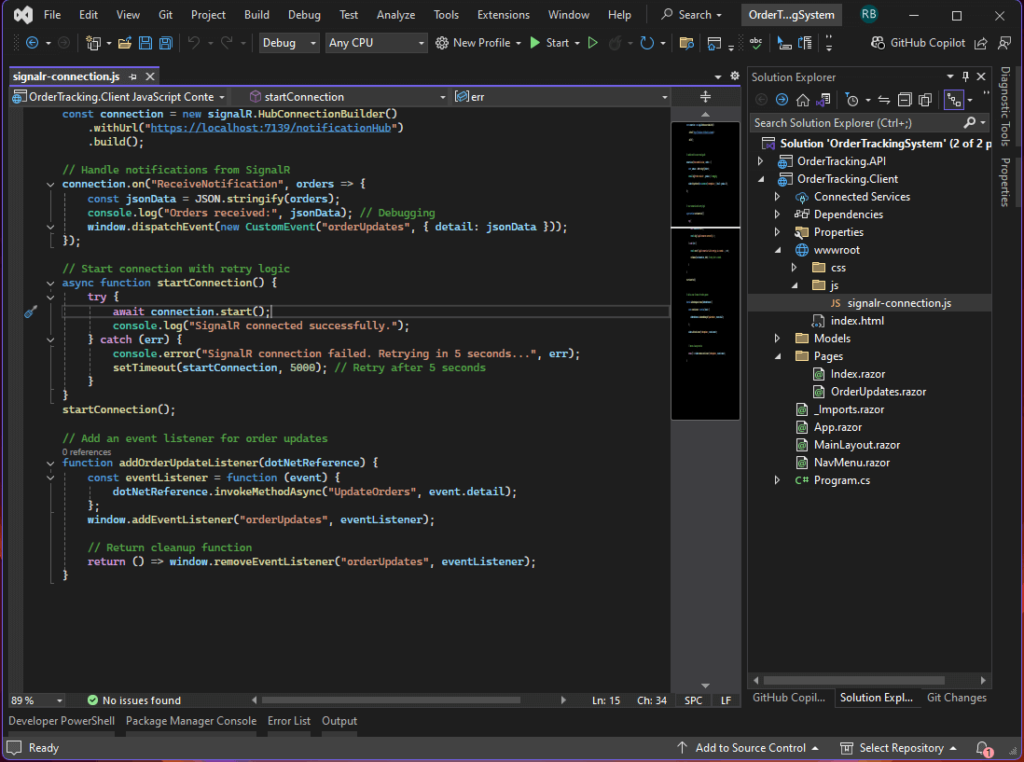
1. In the wwwroot/js folder, add a new file signalr-connection.js
const connection = new signalR.HubConnectionBuilder()
    .withUrl("https://localhost:7139/notificationHub")
    .build();

// Handle notifications from SignalR
connection.on("ReceiveNotification", orders => {
    const jsonData = JSON.stringify(orders);
    console.log("Orders received:", jsonData); // Debugging
    window.dispatchEvent(new CustomEvent("orderUpdates", { detail: jsonData }));
});

// Start connection with retry logic
async function startConnection() {
    try {
        await connection.start();
        console.log("SignalR connected successfully.");
    } catch (err) {
        console.error("SignalR connection failed. Retrying in 5 seconds...", err);
        setTimeout(startConnection, 5000); // Retry after 5 seconds
    }
}
startConnection();

// Add an event listener for order updates
function addOrderUpdateListener(dotNetReference) {
    const eventListener = function (event) {
        dotNetReference.invokeMethodAsync("UpdateOrders", event.detail);
    };
    window.addEventListener("orderUpdates", eventListener);

    // Return cleanup function
    return () => window.removeEventListener("orderUpdates", eventListener);
}
2. Link this script and also add SignalR cdn in index.html
<script src="https://cdnjs.cloudflare.com/ajax/libs/microsoft-signalr/7.0.5/signalr.min.js"></script>
<script src="js/signalr-connection.js"></script>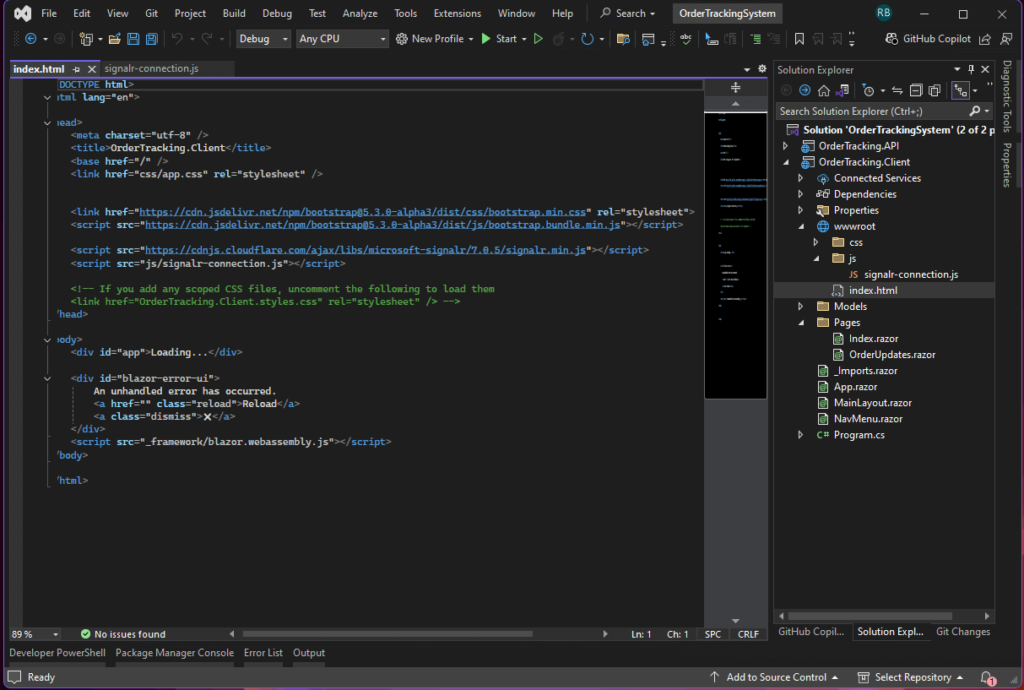
3.4 Display Notifications in Blazor
1. Update App.razor:
Ensure that the App.razor file includes the following code. This setup handles routing for the OrderUpdates.razor component, which we will create shortly, and dynamically displays the order list.
<Router AppAssembly="@typeof(App).Assembly">
    <Found Context="routeData">
        <RouteView RouteData="@routeData" DefaultLayout="@typeof(MainLayout)" />
        <FocusOnNavigate RouteData="@routeData" Selector="h1" />
    </Found>
    <NotFound>
        <PageTitle>Not found</PageTitle>
        <LayoutView Layout="@typeof(MainLayout)">
            <p role="alert">Sorry, there's nothing at this address.</p>
        </LayoutView>
    </NotFound>
</Router>
3.5 Create a new Blazor component file named Pages/OrderUpdates.razor to display the list of updated orders.
@page "/"
@using System.Text.Json
@using OrderTracking.Client.Models
@inject IJSRuntime JSRuntime

<div class="container mt-5">
    <h2 class="text-center mb-4">Real-Time Order Tracking</h2>

    @if (orders.Count > 0)
    {
        <div class="table-responsive">
            <table class="table table-hover table-striped align-middle">
                <thead class="table-dark">
                    <tr>
                        <th scope="col">Order ID</th>
                        <th scope="col">Customer Name</th>
                        <th scope="col">Status</th>
                        <th scope="col">Last Updated</th>
                    </tr>
                </thead>
                <tbody>
                    @foreach (var order in orders)
                    {
                        <tr>
                            <td>@order.orderId</td>
                            <td>@order.customerName</td>
                            <td>
                                <span class="badge @GetStatusClass(order.status)">
                                    @order.status
                                </span>
                            </td>
                            <td>@order.lastUpdated.ToString("g")</td>
                        </tr>
                    }
                </tbody>
            </table>
        </div>
    }
    else
    {
        <div class="alert alert-info text-center">
            <p class="mb-0">No updates available at the moment. Please check back later.</p>
        </div>
    }
</div>

@code {
    private List<OrderDto> orders = new();

    protected override async Task OnInitializedAsync()
    {
        // Register a JavaScript listener for the custom "orderUpdates" event
        await JSRuntime.InvokeVoidAsync("addOrderUpdateListener", DotNetObjectReference.Create(this));
    }

    [JSInvokable("UpdateOrders")]
    public void UpdateOrders(string jsonData)
    {
        if (!string.IsNullOrWhiteSpace(jsonData))
        {
            try
            {
                orders = JsonSerializer.Deserialize<List<OrderDto>>(jsonData) ?? new List<OrderDto>();
                StateHasChanged();
            }
            catch (JsonException ex)
            {
                Console.WriteLine("Error deserializing JSON data: " + ex.Message);
            }
        }
    }

    private string GetStatusClass(string status)
    {
        if (string.IsNullOrWhiteSpace(status)) return "bg-secondary";
        return status.ToLower() switch
        {
            "processing" => "bg-warning text-dark",
            "completed" => "bg-success",
            "shipped" => "bg-primary",
            "pending" => "bg-info",
            "cancelled" => "bg-danger",
            _ => "bg-secondary"
        };
    }

}
Step 4. Create a Custom Menu Bar
This section guides you through setting up a navigation menu in your Blazor app.
1. Include Bootstrap in wwwroot/index.html
Add Bootstrap to your Blazor app for responsive design and styling. Open wwwroot/index.html and include the following.
<head>
    <link href="https://cdn.jsdelivr.net/npm/bootstrap@5.3.0/dist/css/bootstrap.min.css" rel="stylesheet">
    <script src="https://cdn.jsdelivr.net/npm/bootstrap@5.3.0/dist/js/bootstrap.bundle.min.js"></script>
</head>
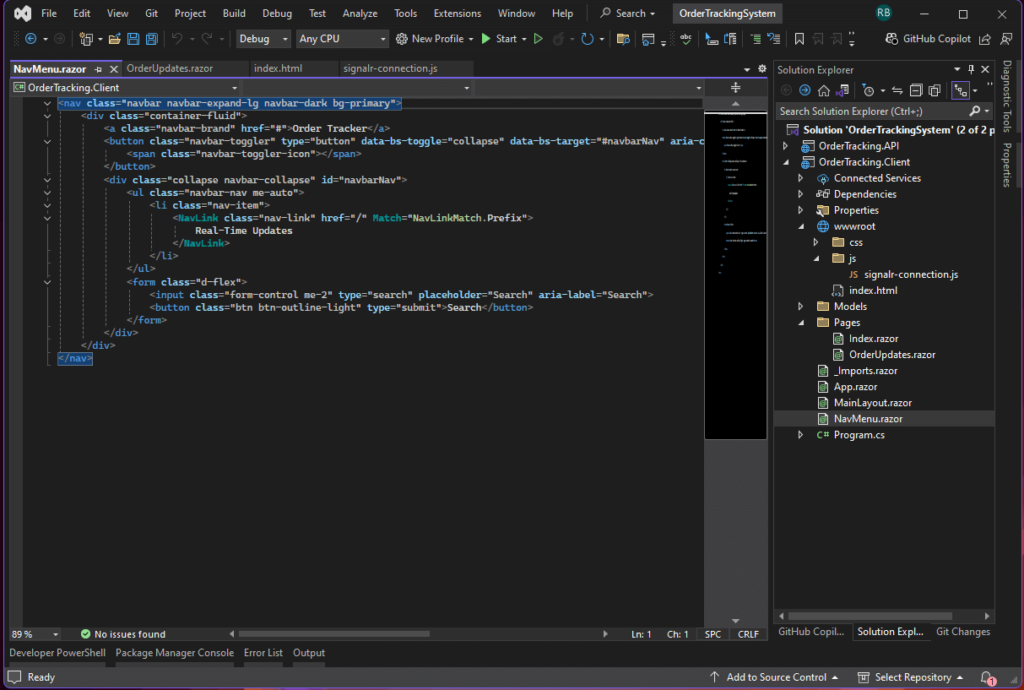
2. Create the Navigation Menu in NavMenu.razor
Define a mobile-friendly navigation bar with Bootstrap classes and a single link for Real-Time Updates.
<nav class="navbar navbar-expand-lg navbar-dark bg-primary">
    <div class="container-fluid">
        <a class="navbar-brand" href="#">Order Tracker</a>
        <button class="navbar-toggler" type="button" data-bs-toggle="collapse" data-bs-target="#navbarNav" aria-controls="navbarNav" aria-expanded="false" aria-label="Toggle navigation">
            <span class="navbar-toggler-icon"></span>
        </button>
        <div class="collapse navbar-collapse" id="navbarNav">
            <ul class="navbar-nav me-auto">
                <li class="nav-item">
                    <NavLink class="nav-link" href="/" Match="NavLinkMatch.Prefix">
                        Real-Time Updates
                    </NavLink>
                </li>
            </ul>
            <form class="d-flex">
                <input class="form-control me-2" type="search" placeholder="Search" aria-label="Search">
                <button class="btn btn-outline-light" type="submit">Search</button>
            </form>
        </div>
    </div>
</nav>
4. Update MainLayout.razor
Include the navigation menu in your layout.
@inherits LayoutComponentBase
<div class="d-flex flex-column min-vh-100">
<!-- Header -->
<header class="bg-primary text-white py-3">
<div class="container">
<h1 class="mb-0">Order Tracker</h1>
<p class="lead">Stay updated with real-time order information</p>
</div>
</header>
<!-- Navigation Menu -->
<NavMenu />
<!-- Main Content -->
<main class="container my-4 flex-grow-1">
@Body
</main>
<!-- Footer -->
<footer class="bg-primary text-white text-center py-3 mt-auto">
<div class="container">
<small>© 2024 Order Tracker. All Rights Reserved.</small>
</div>
</footer>
</div>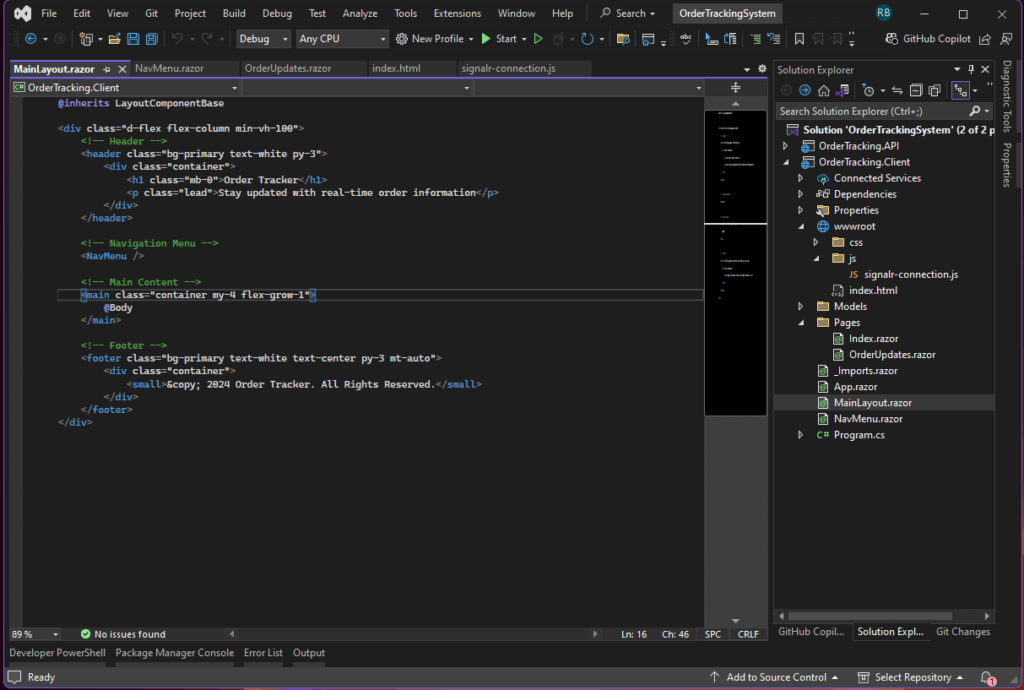
Step 5. Testing the Application
To ensure everything is working, follow these steps to test your real-time notification system. This includes running both the API and Blazor projects simultaneously in Visual Studio 2022.
Step 4.1 – Configure Visual Studio to Start Multiple Projects
- Open the solution in Visual Studio 2022.
- Right-click on the solution name in the Solution Explorer and select Properties.
- In the left-hand menu, click Startup Project.
- Select the Multiple startup projects option.
- Set the Action for both projects as follows:
- OrderTracking.API: Start
- OrderTracking.Client: Start
- Click OK to save the settings.
Step 4.2 – Start Both Projects
- Press F5 or click the Start button in Visual Studio to launch both projects.
- The API project will run on a local server (e.g.,
https://localhost:7139), and the Blazor WebAssembly app(https://localhost:7072/) will open in your default browser.
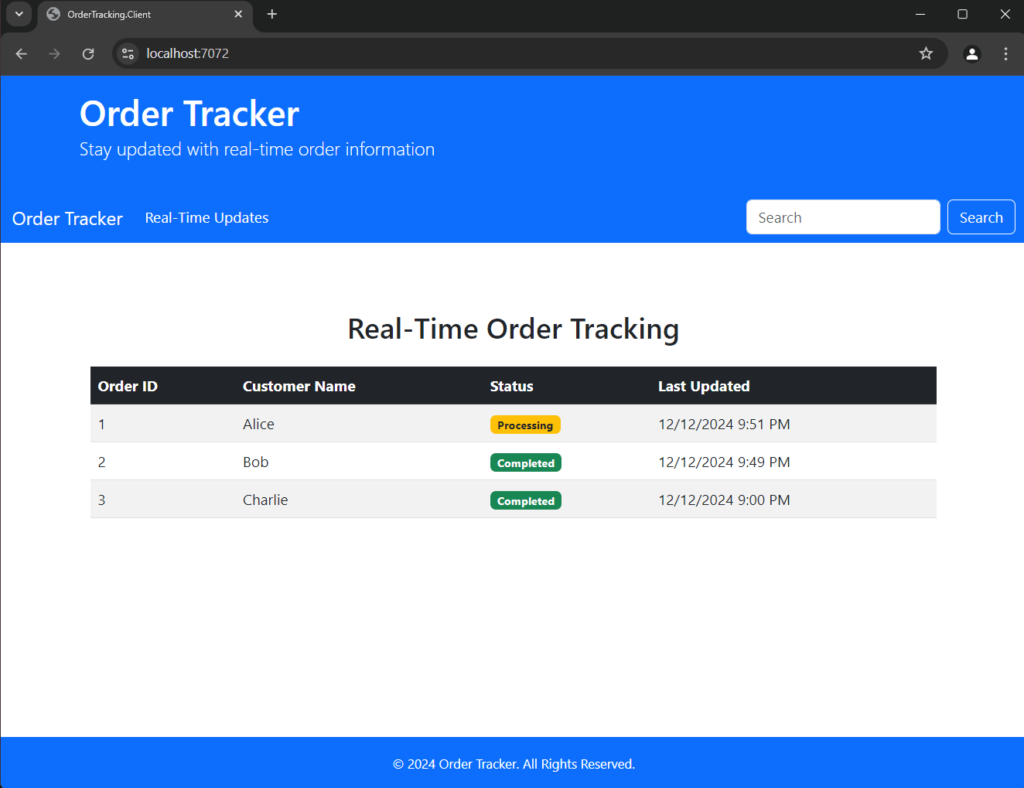
Step 4.3 – Trigger a Real-Time Notification
1. Open SQL Server Management Studio (SSMS).
2. Update the status of an order in the database by executing the following SQL query:
UPDATE Orders SET Status = 'Shipped' WHERE OrderId = 1;3. Switch back to your browser where the Blazor application is running. You should see a real-time notification appear, confirming that the order status has changed.
Step 4.4 – Ensure SQL Server Notifications Work
If you encounter issues with receiving real-time notifications, ensure that SQL Server notifications are correctly configured and enabled. For a detailed guide on troubleshooting and making SQL Server notifications work effectively in ASP.NET Core, refer to How to Make SQL Server Notifications Work in ASP.NET Core. This article provides in-depth steps to configure SQL Server for dependency notifications.
Step 4.5 – Verify Real-Time Updates
- Try making additional updates to the
Orderstable in SQL Server, such as inserting a new order or changing the status of another order. - Observe the notifications in your Blazor application to ensure that real-time updates are working as expected.
By following these steps, you can test your system thoroughly and resolve any potential configuration issues using additional resources.
Download Source Code
To download the free source code from this tutorial, click the button below.
Important Notes:
- Ensure you have 7-Zip installed to extract the file. You can download 7-Zip here if you don’t already have it.
- Use the password freecodespot when prompted during extraction.
This source code is designed to work seamlessly with the steps outlined in this tutorial. If you encounter any issues or have questions, feel free to reach out in the comments section below.
Conclusion
Congratulations! 🎉 You’ve built a real-time Event Notification System that listens to SQL Server changes and notifies users via SignalR. This setup is ideal for applications like dashboards, alerting systems, or live data feeds.
Next Steps:
- Enhance the front-end UI to display notifications dynamically.Enhance the front-end UI to display notifications dynamically, such as creating a list or table to show real-time updates visually.
- Add authentication to your SignalR connections to ensure that only authorized users can receive notifications. For a detailed guide on securing SignalR using JWT authentication, check out Secure SignalR Connection with JWT. This article explains how to protect your SignalR hub and make your system more robust.
With these enhancements, your notification system will be ready for real-world use cases. Let me know how your project turns out!
