In this tutorial, we’ll build an ASP.NET Core application with SignalR and SQL Server to showcase real-time database updates.
We’ll create both a back-end Web API and a simple front-end client, ensuring every step is clear and beginner-friendly.
This way, you’ll have a complete, working project by the end.
- Step 1: Set Up the SQL Server Table
- Step 2: Create the ASP.NET Core Web API Project
- Step 3: Configure SQL Dependency in Web API
- Step 4: Create SignalR Hub
- Step 5: Configure SignalR in the ASP.NET Core Project
- Step 6: Create the Front-End Client
- Step 7: Run and Test the Project
- Download Source Code
- Conclusion
Step 1: Set Up the SQL Server Table
First, create a SQL Server table that our application will monitor for changes.
1. Open SQL Server Management Studio (SSMS) and create a new database or use an existing one.
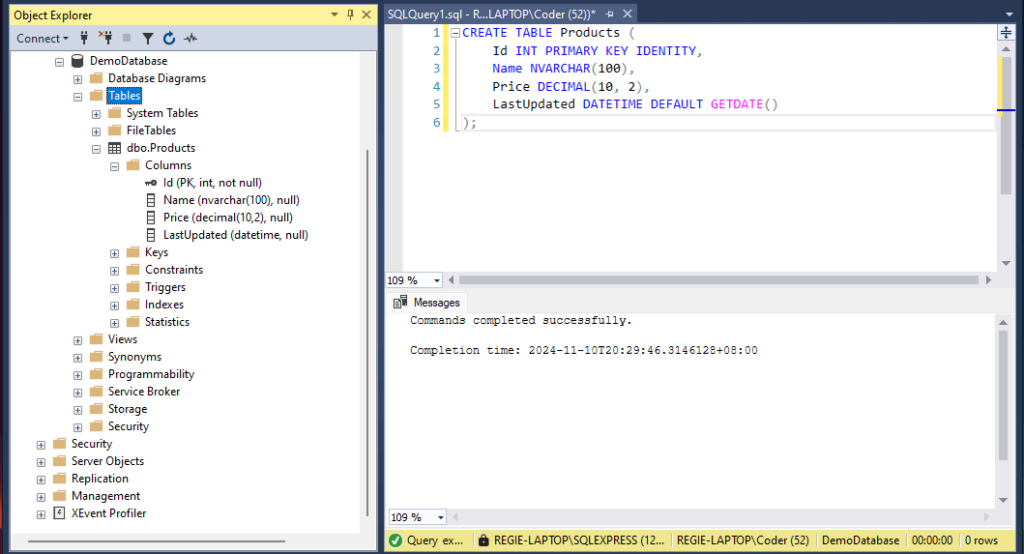
2. Execute the following SQL script to create a “Products” table:
CREATE TABLE Products (
    Id INT PRIMARY KEY IDENTITY,
    Name NVARCHAR(100),
    Price DECIMAL(10, 2),
    LastUpdated DATETIME DEFAULT GETDATE()
);
Step 2: Create the ASP.NET Core Web API Project
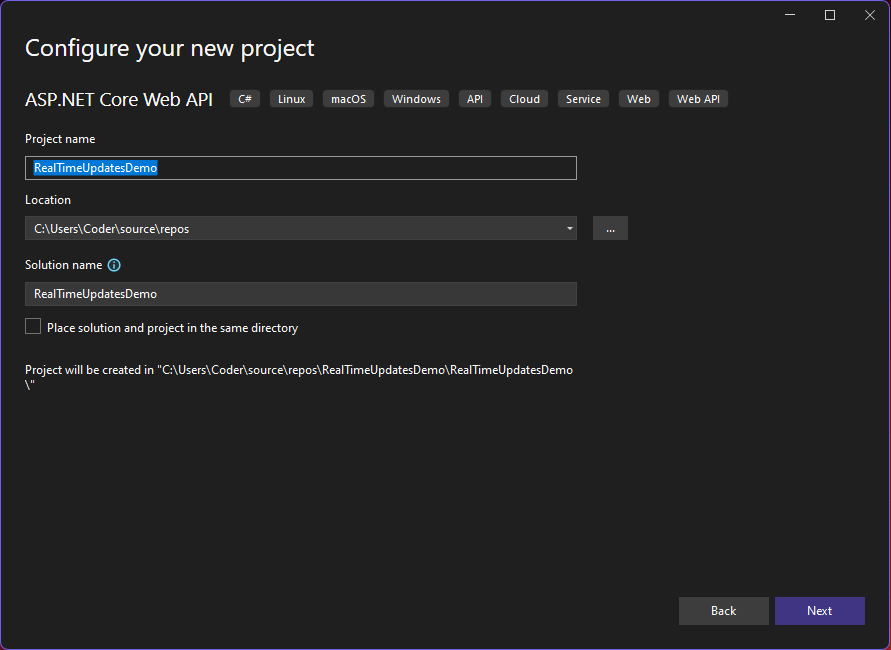
1. Open Visual Studio and create a new ASP.NET Core Web API project.
2. Name it “RealTimeUpdatesDemo” and select .NET 6 or later as the framework.
3. Install the following NuGet packages in the Web API project:
- Microsoft.AspNetCore.SignalR
- System.Data.SqlClient
Step 3: Configure SQL Dependency in Web API
1. Enable Service Broker on SQL Server
To use SQLDependency, the SQL Server database must have the Service Broker enabled. Run the following SQL command to enable it on your database:
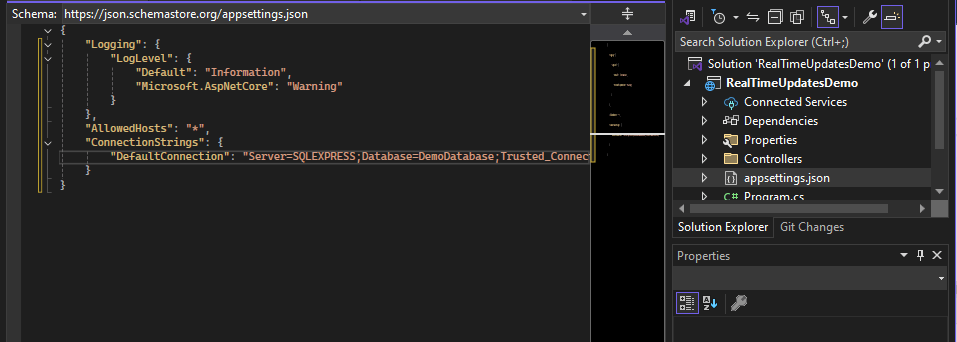
ALTER DATABASE YourDatabaseName SET ENABLE_BROKER;2. Add a connection string in appsettings.json to connect to your SQL Server instance.
"ConnectionStrings": {
    "DefaultConnection": "Server=YOUR_SERVER;Database=YOUR_DATABASE;Trusted_Connection=True;"
}
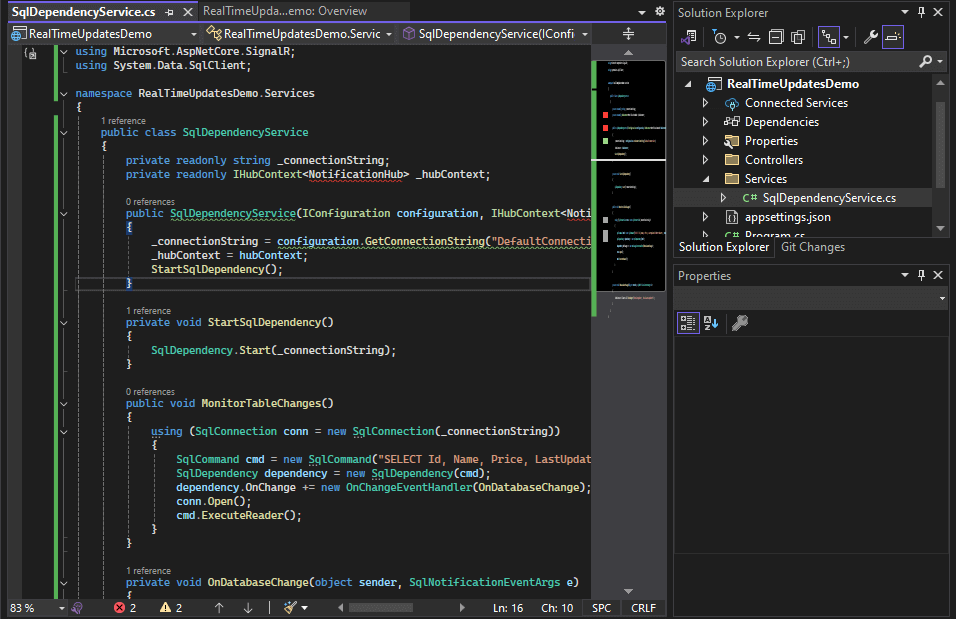
3. Create a folder called Services in the Web API project and add a class SqlDependencyService.cs.
This class will handle SQL change tracking and communicate with SignalR.
 public class SqlDependencyService
 {
     private readonly string _connectionString;
     private readonly IHubContext<NotificationHub> _hubContext;

     public SqlDependencyService(IConfiguration configuration, IHubContext<NotificationHub> hubContext)
     {
         _connectionString = configuration.GetConnectionString("DefaultConnection");
         _hubContext = hubContext;
         StartSqlDependency();
     }

     private void StartSqlDependency()
     {
         SqlDependency.Start(_connectionString);
         MonitorTableChanges();
     }

     public void MonitorTableChanges()
     {
         using (SqlConnection conn = new SqlConnection(_connectionString))
         {
             SqlCommand cmd = new SqlCommand("SELECT Id, Name, Price FROM dbo.Products", conn);
             SqlDependency dependency = new SqlDependency(cmd);
             dependency.OnChange += new OnChangeEventHandler(OnDatabaseChange);
             conn.Open();
             cmd.ExecuteReader();
         }
     }

     private void OnDatabaseChange(object sender, SqlNotificationEventArgs e)
     {
         MonitorTableChanges();

         if (e.Type == SqlNotificationType.Change && (e.Info == SqlNotificationInfo.Update || e.Info == SqlNotificationInfo.Insert))
         {
             _hubContext.Clients.All.SendAsync("ReceiveUpdate", "Database updated!");
         }
     }

     public void StopDependency()
     {
         SqlDependency.Stop(_connectionString);
     }
 }
4. Open the Startup class and register an instance of SQLDependencyService.
builder.Services.AddSingleton<SqlDependencyService>();var sqlDependencyService = app.Services.GetRequiredService<SqlDependencyService>();
sqlDependencyService.MonitorTableChanges();This way, monitoring of the database change will start right after you run your project.
Step 4: Create SignalR Hub
In the Hubs folder of your Web API project, add a NotificationHub.cs class.
This SignalR hub will be the connection point for real-time data updates.
public class NotificationHub : Hub
{
    public async Task SendUpdate(string message)
    {
        await Clients.All.SendAsync("ReceiveUpdate", message);
    }
}
Step 5: Configure SignalR in the ASP.NET Core Project
In the Startup.cs file, configure SignalR in the `ConfigureServices` method to add the SignalR service to the application. Also, add the SignalR middleware in the `Configure` method.
For example:
var builder = WebApplication.CreateBuilder(args);
builder.Services.AddControllers();
builder.Services.AddSignalR();
Then register the NotificationHub class
app.MapHub<NotificationHub>("/notificationHub");Step 6: Create the Front-End Client
To test real-time updates, we’ll create a simple HTML client with JavaScript to connect to the SignalR hub.
1. In your project folder, create a new HTML file `index.html`.
2. Include the SignalR client library and set up a basic connection to the Web API’s SignalR hub.
<!DOCTYPE html>
<html>
<head>
    <title>Real-Time Database Updates</title>
    <script src="https://cdnjs.cloudflare.com/ajax/libs/microsoft-signalr/3.1.18/signalr.min.js"></script>
</head>
<body>
    <h2>Real-Time Notifications</h2>
    <div id="message"></div>

    <script>
        const connection = new signalR.HubConnectionBuilder()
            .withUrl("http://localhost:8080/notificationHub")
            .build();

        connection.on("ReceiveUpdate", function (message) {
            document.getElementById("message").innerText = message;
        });

        connection.start().catch(err => console.error(err.toString()));
    </script>
</body>
</html>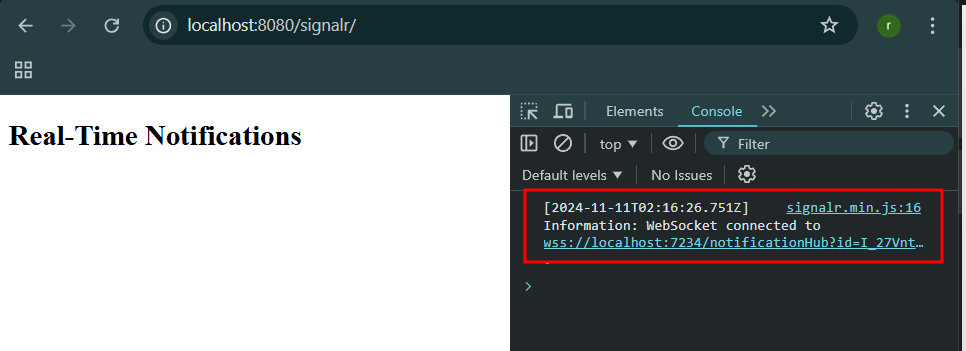
Make sure you are using the right port number. When you run your Web API project, you will be able to get the actual URL by pressing f5 or CTRL + f5.
Step 7: Run and Test the Project
1. Start the Web API project from Visual Studio to launch the server.
2. Open “index.html” in a browser and watch for real-time notifications when data in the “Products” table changes.
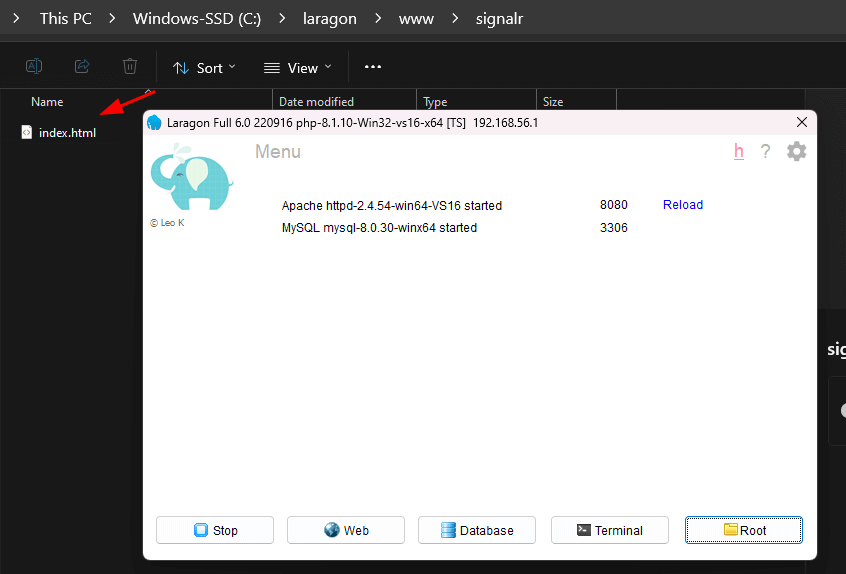
In my case, I use laragon to run my front-end index.html. See the image below.
3. Update or insert records in SQL Server to trigger real-time updates in the client.
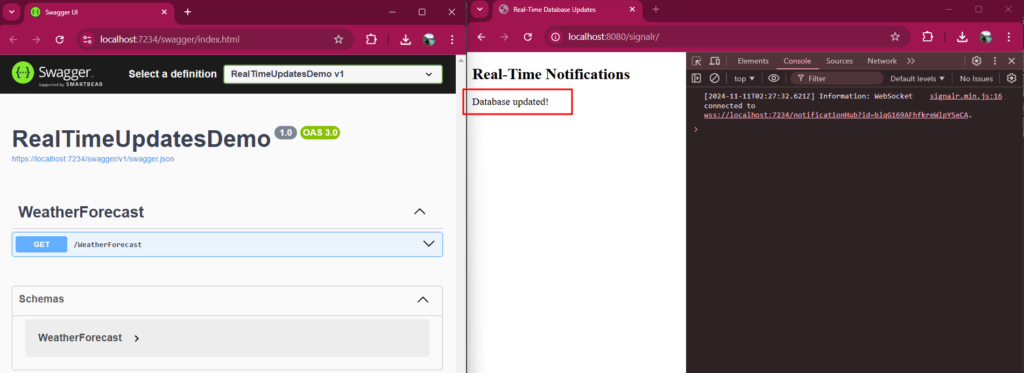
Once, SQLDependecy detects changes in the database it will broadcast the message to all connected SignalR clients.
You must also add this CORs policy on your startup to run your testing successfully.
builder.Services.AddCors(options =>
{
    options.AddPolicy("AllowAllOrigins", builder =>
    {
        builder.WithOrigins("http://localhost:8080") // Your frontend's origin
              .AllowAnyHeader()
              .AllowAnyMethod() // Allow any HTTP method (GET, POST, etc.)
              .AllowCredentials();  // Allow credentials (cookies, HTTP headers)
    });
});
Download Source Code
To download free source code from this tutorial, you can use the button below.
Note: Extract the file using 7Zip and use password: freecodespot
Github Repository: RealTimeUpdateDemo
Conclusion
You have successfully built a real-time update system using ASP.NET Core, SignalR, and SQL Server.
This tutorial provided step-by-step guidance to create a working project from start to finish.
Test it by modifying the SQL table and seeing live updates in the client!
